|

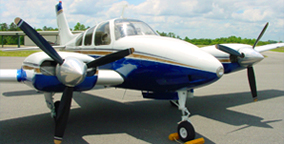
Are your wing root seals old and cruddy
looking? Or did they just disappear after your last flight?
In any event, here are some pireps on this
project from the Beech List and
BeechTalk that will help you accomplish this project in CSOB
style! Check out
THIS thread on BeechTalk for a phenomenal set of pireps and pics on wing
root seal installation!
If grinding your wing skin or picking out the wing root
seal "finger" from underneath the wing skin is not something you and your
mechanic are up for (not to mention the expense if you are going to pay mechanic
rates to accomplish this), I can appreciate your pain. Check out my shortcut
"repair" article
HERE, in which I cut the new finger off the GeeBee seal and glued the seal
to the cleaned skin with GeeBee's awesome silicone adhesive.
The shortcut method that I used in the above
article should only be considered a temporary “repair”, not to be confused with
the removal of the OEM seal finger under the wing skin and properly installing
the new seal with the finger under the wing skin. In reality, the only way to
guarantee that the seal will remain in place as long as an OEM seal fitted at
the factory is to install it like the factory did. Consider that you may have to
re-do it at some time in the near term. What that near term turns out to be is
anyone’s guess and I was willing to roll the dice on the strength of the Gee Bee
silicone cement.
WARNING: This
shortcut "repair" may result in you receiving "stink eye" from purists (your
airplane will likely not be eligible for display in the Smithsonian) so choose
wisely or maintain op sec on your methods and let others admire your cosmetic
accomplishment. As with all things regarding your certified aircraft, consult
your A&P before beginning your project.

INCREDIBLE WING
ROOT SEAL INSTALL DIY - CLICK HERE
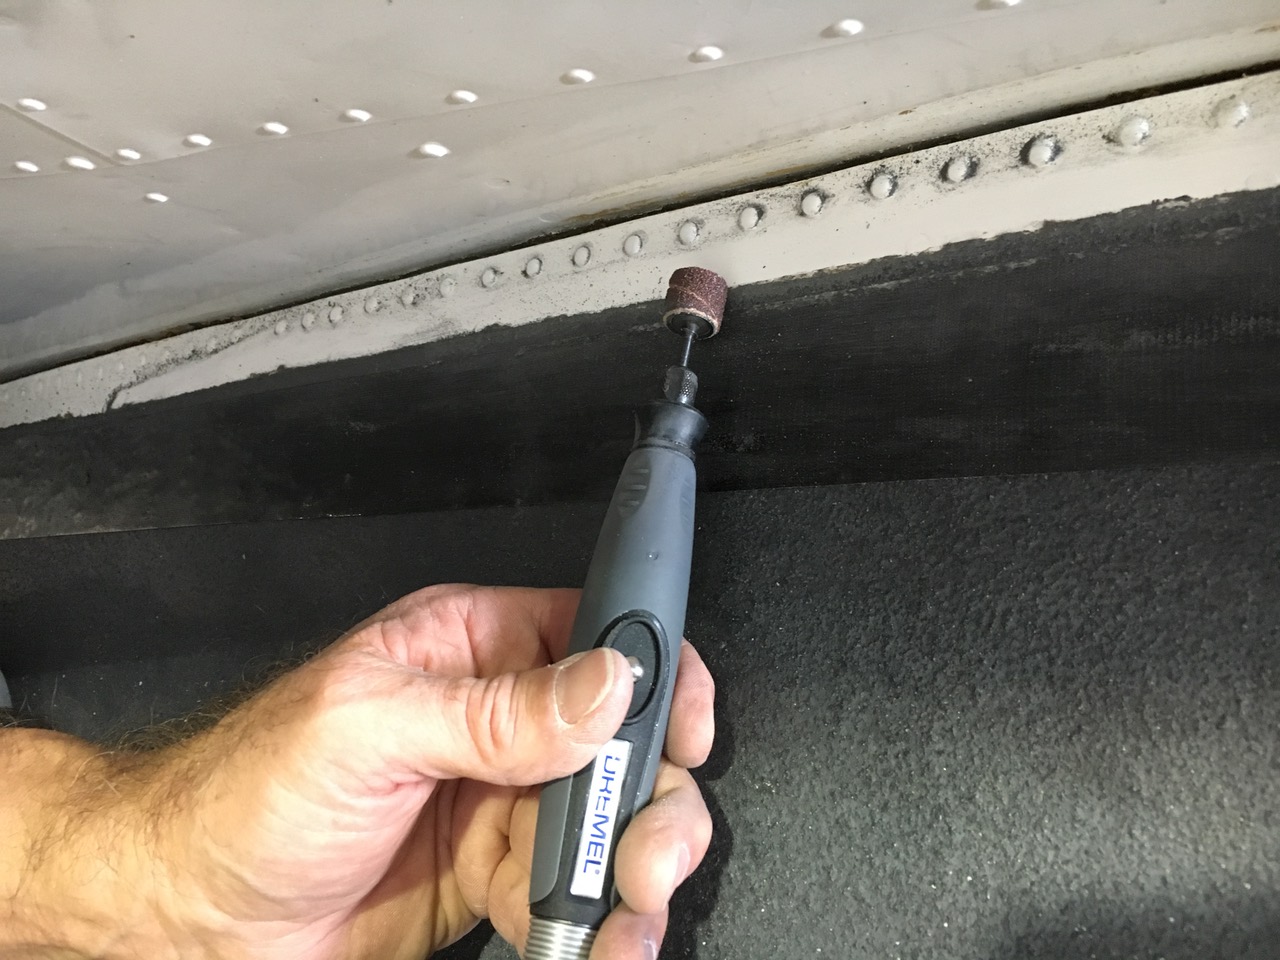
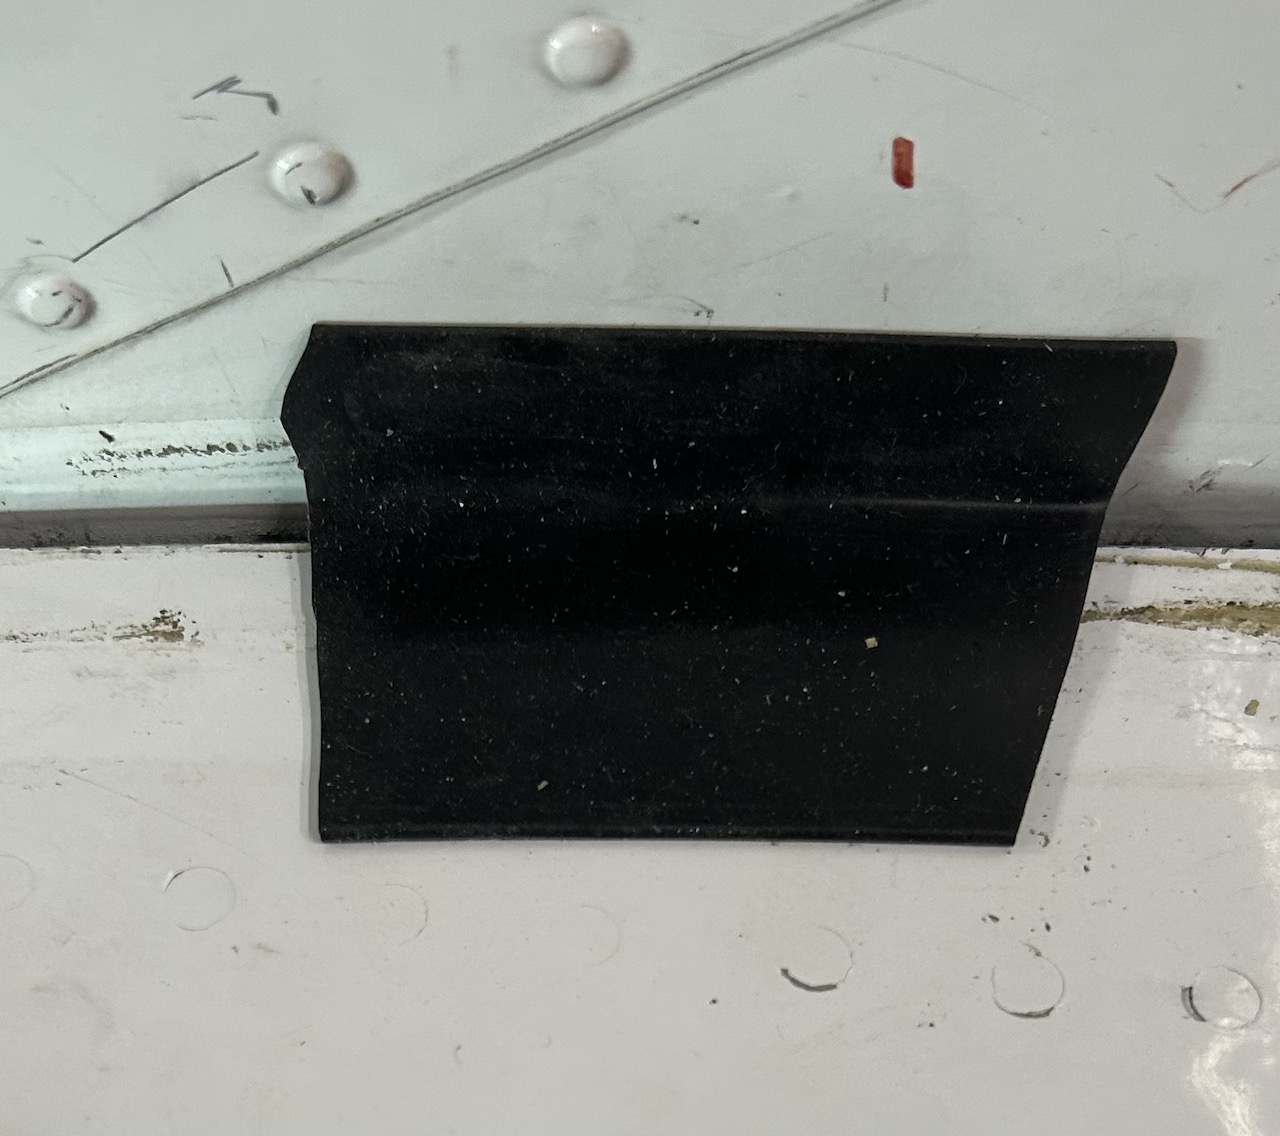
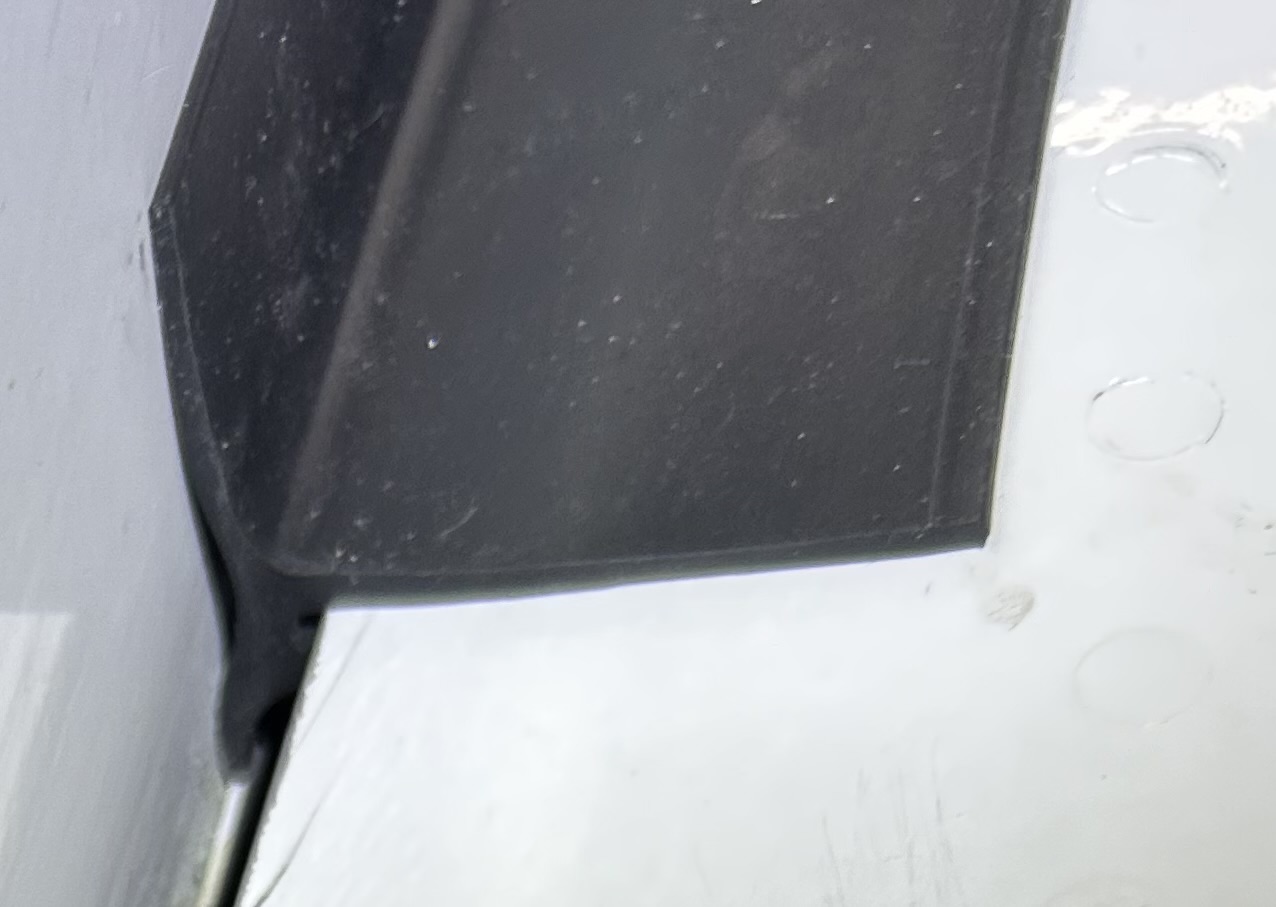
Pirep per James A.: We did have to cut about 1/16th of the skin to get a good
gap in a couple of places. The wing skin was right up against the fuselage. I
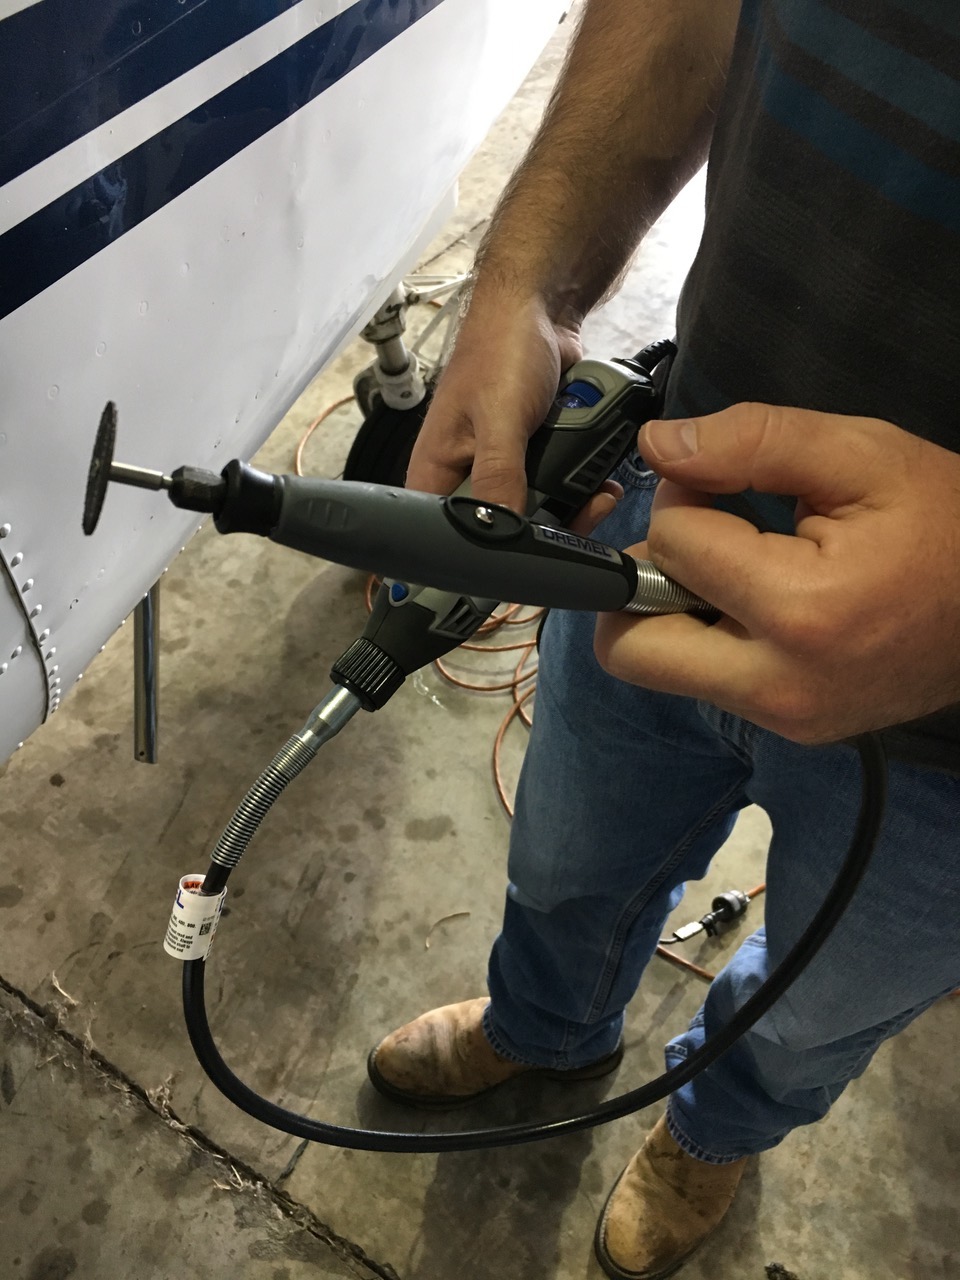
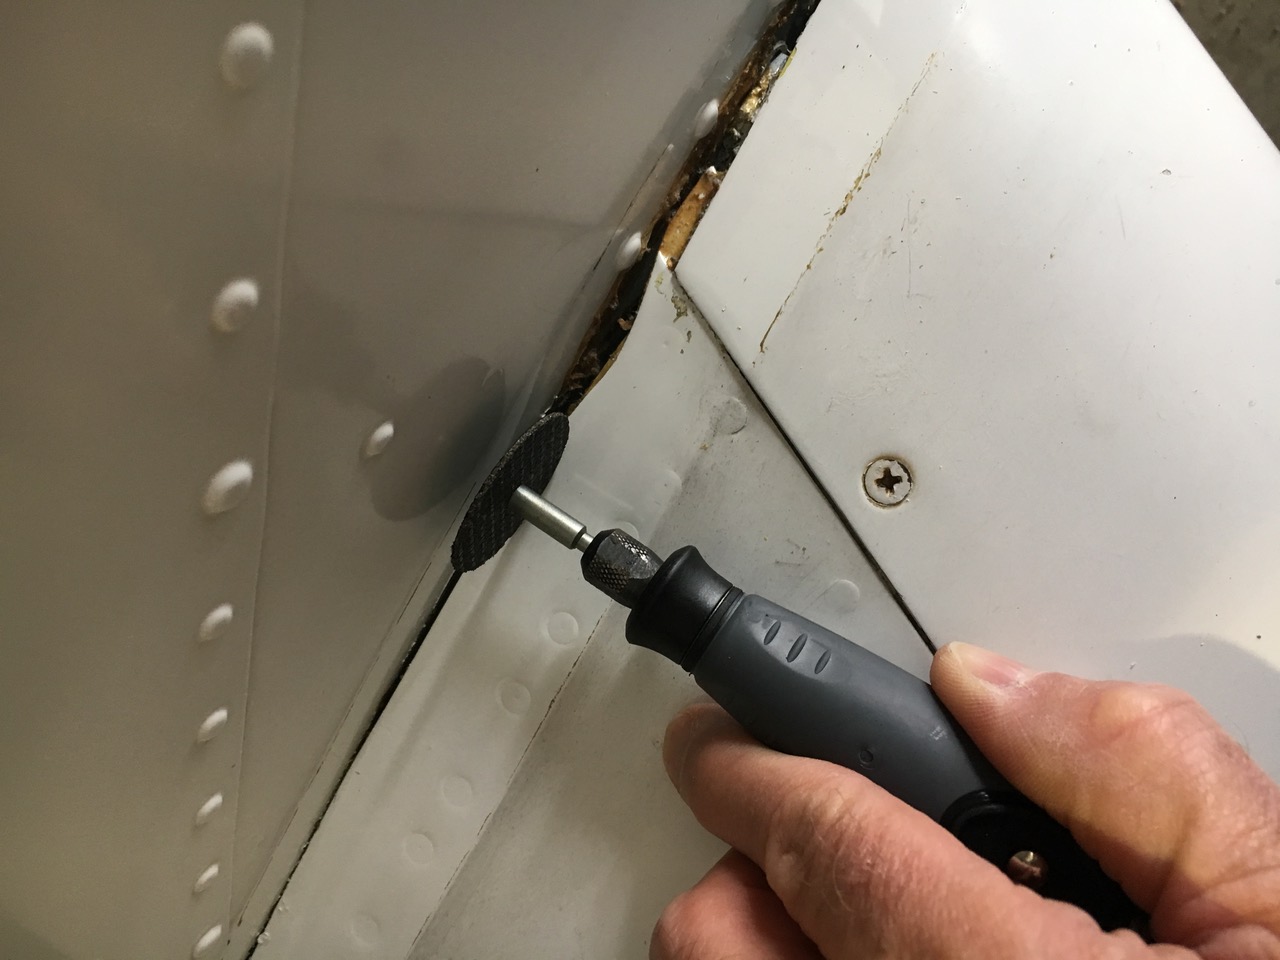
used the Dremel tool with the flexible extension and a small cutting wheel.
Could not have been easier. I also used the dremel to feather the wing-walk
edge. Was very quick and easy. The flexible extension is only $25 at Lowe’s. It
allows very fine control and a perfect angle. In the pictures you’ll see I used
Gorilla tape instead of masking tape. The masking tape wouldn’t adhere well to
the wing-walk surface.
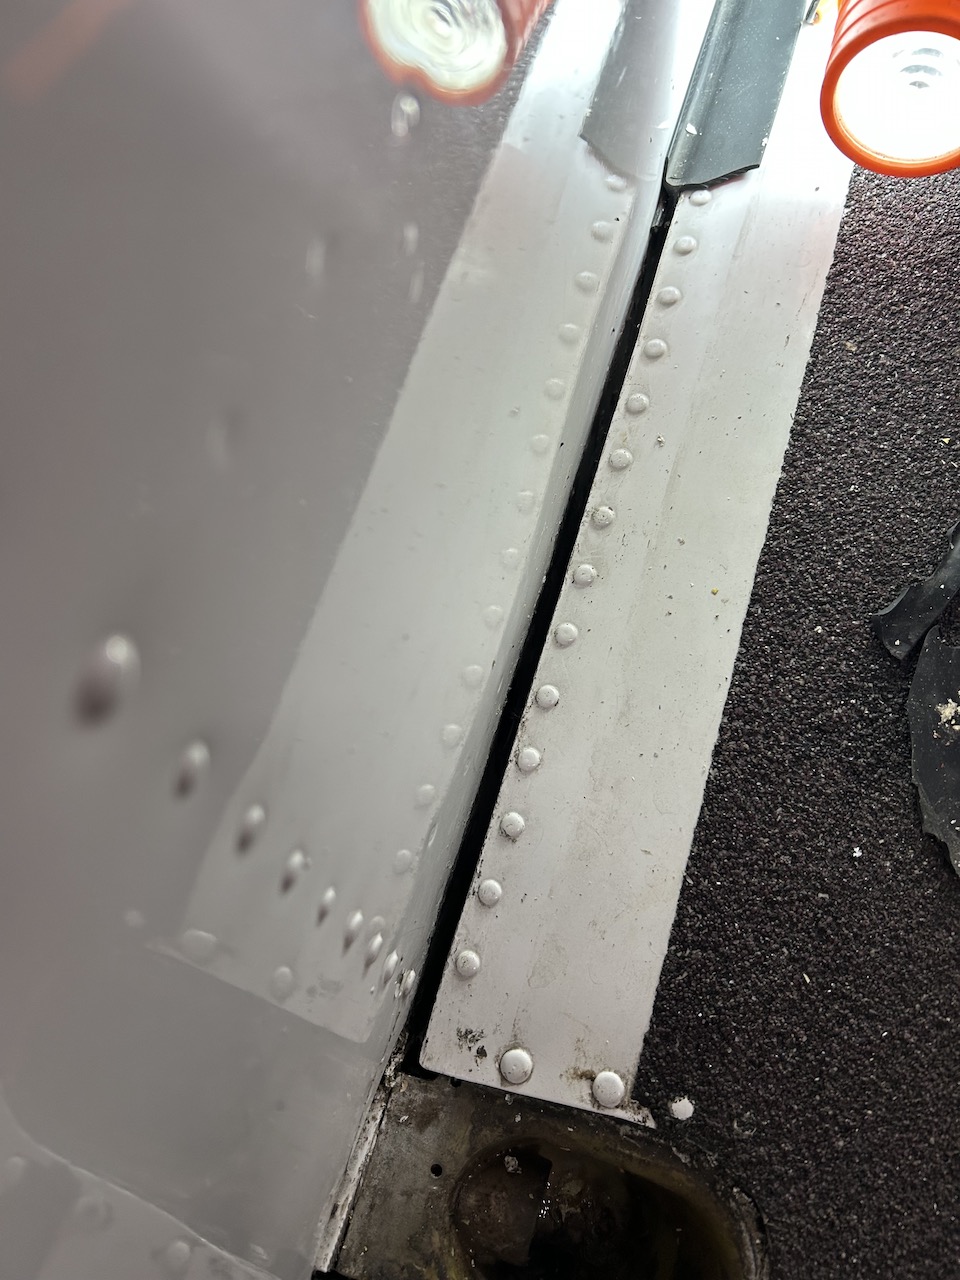
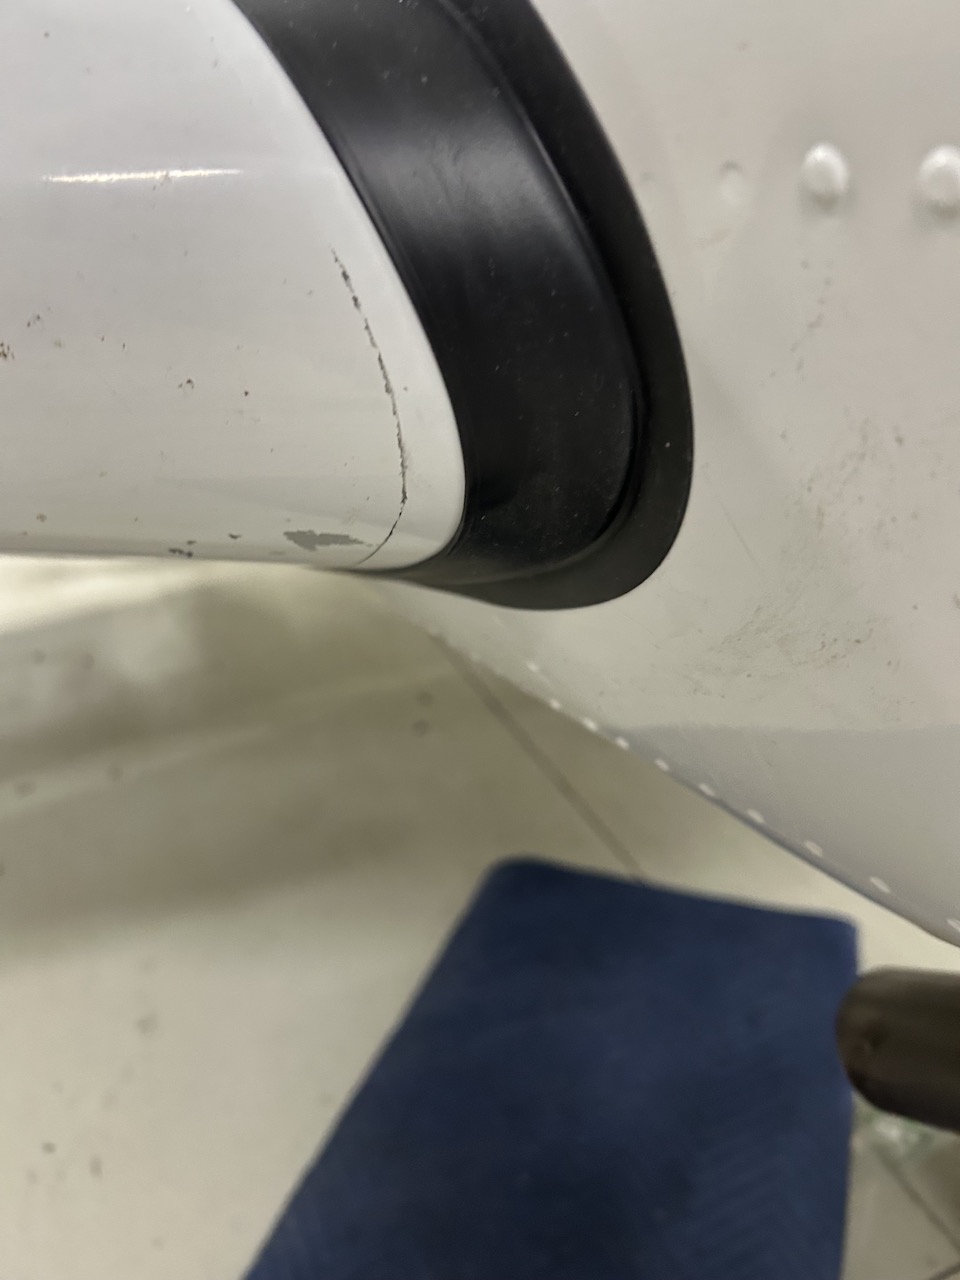
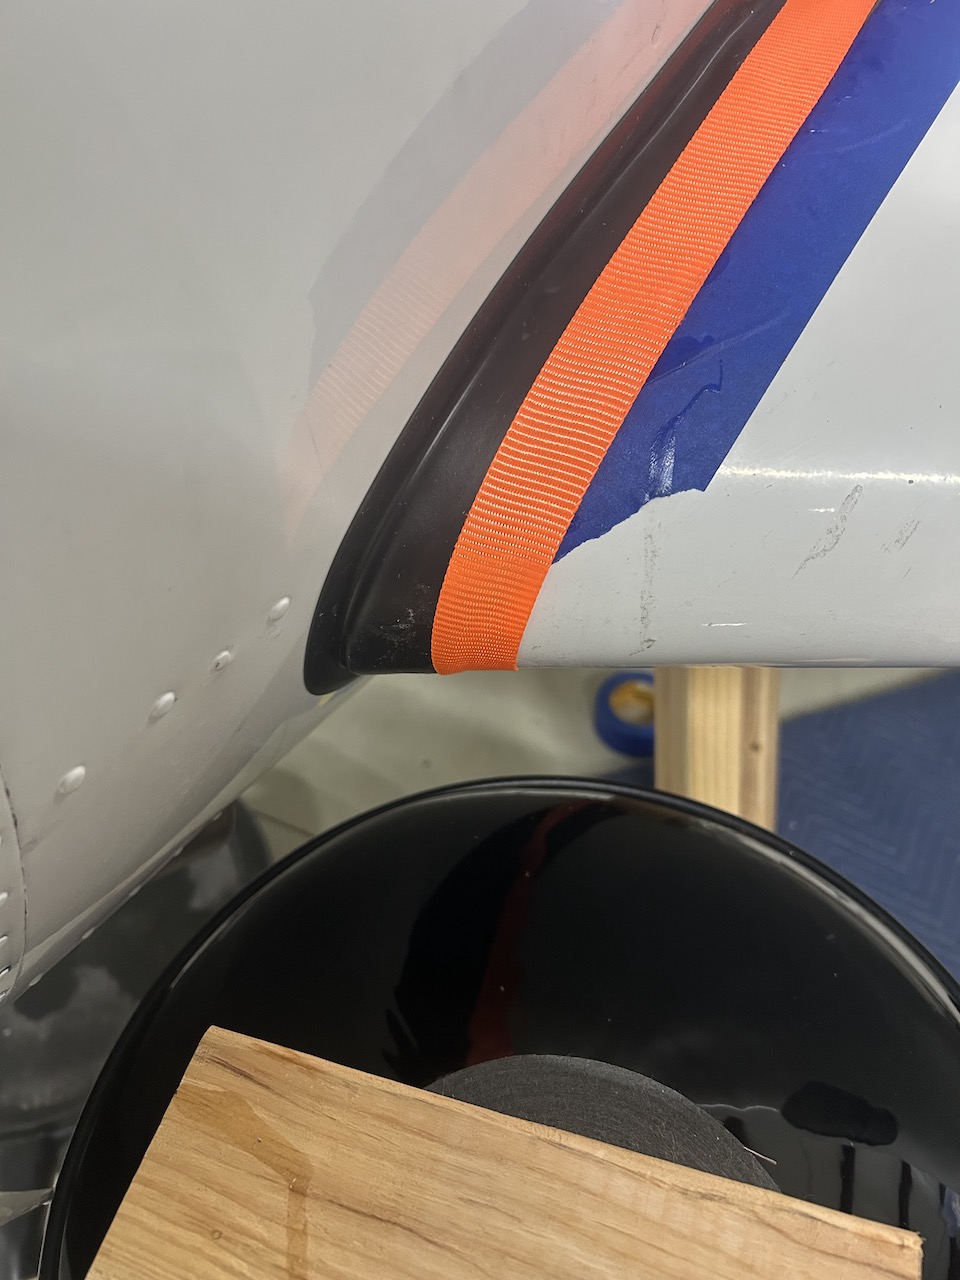
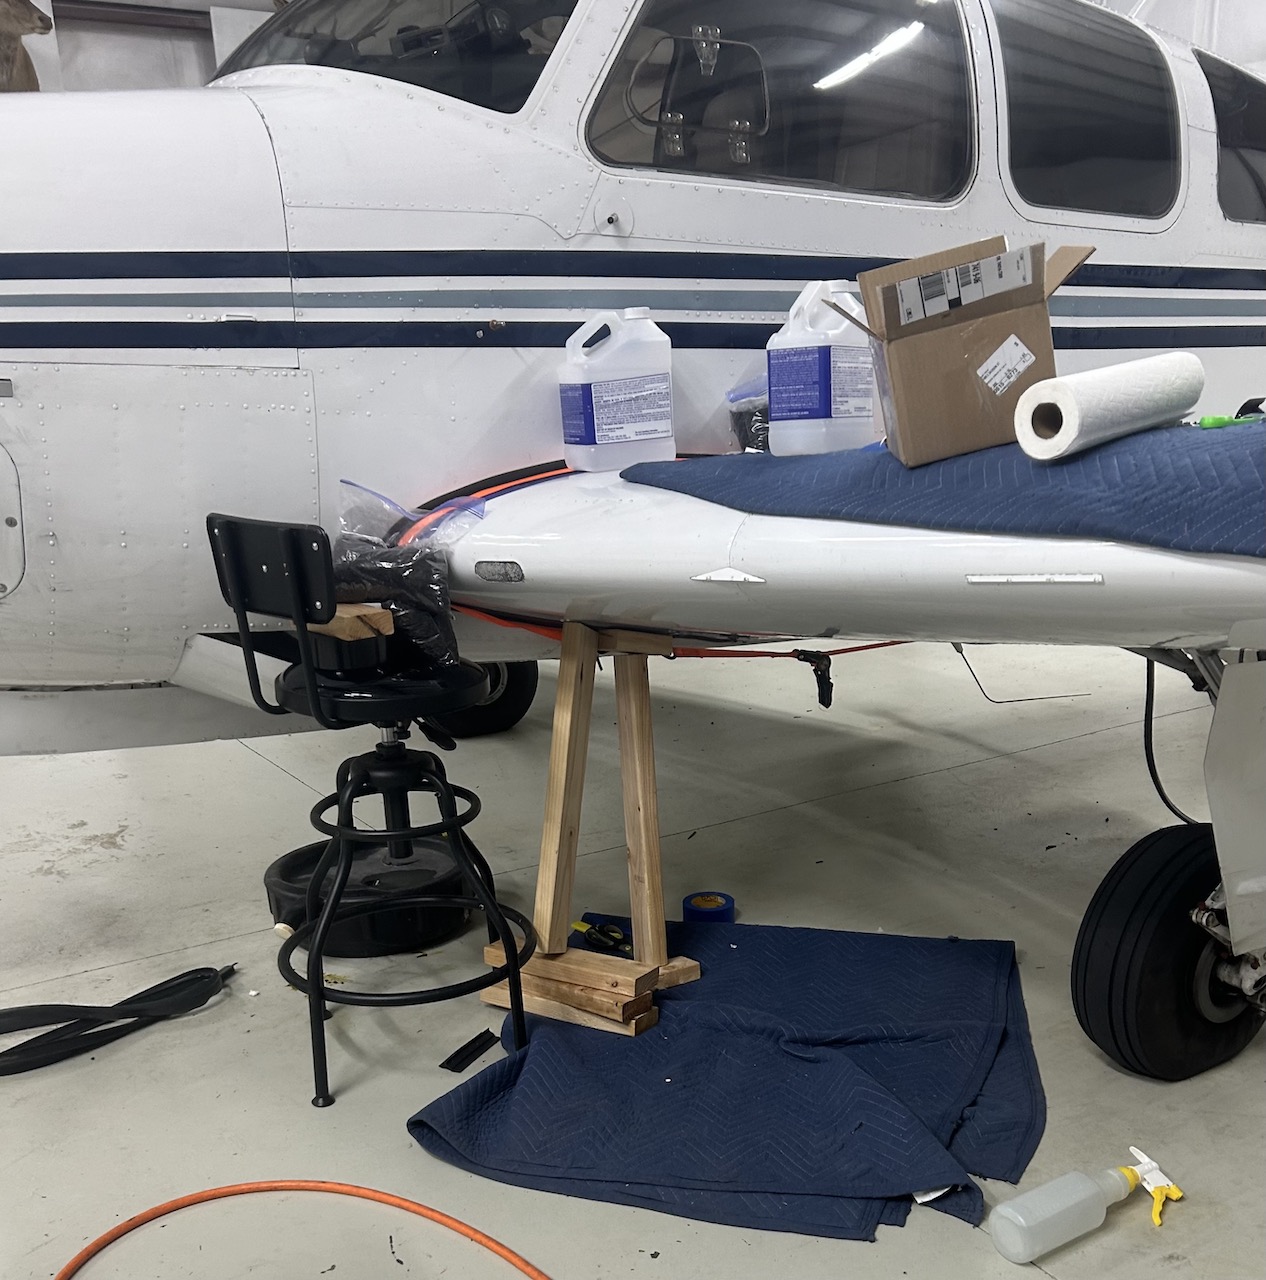
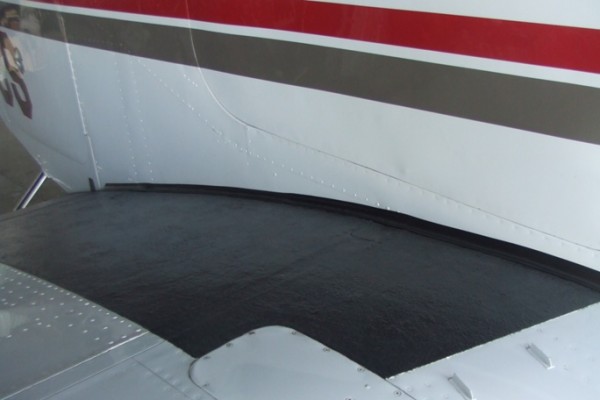
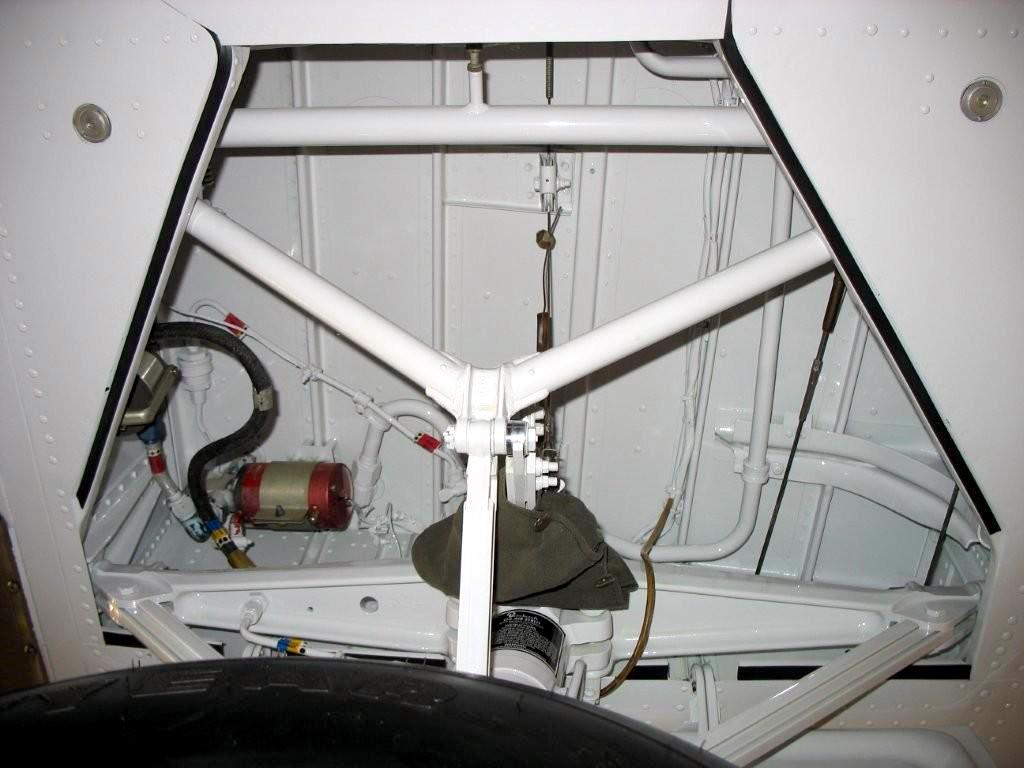
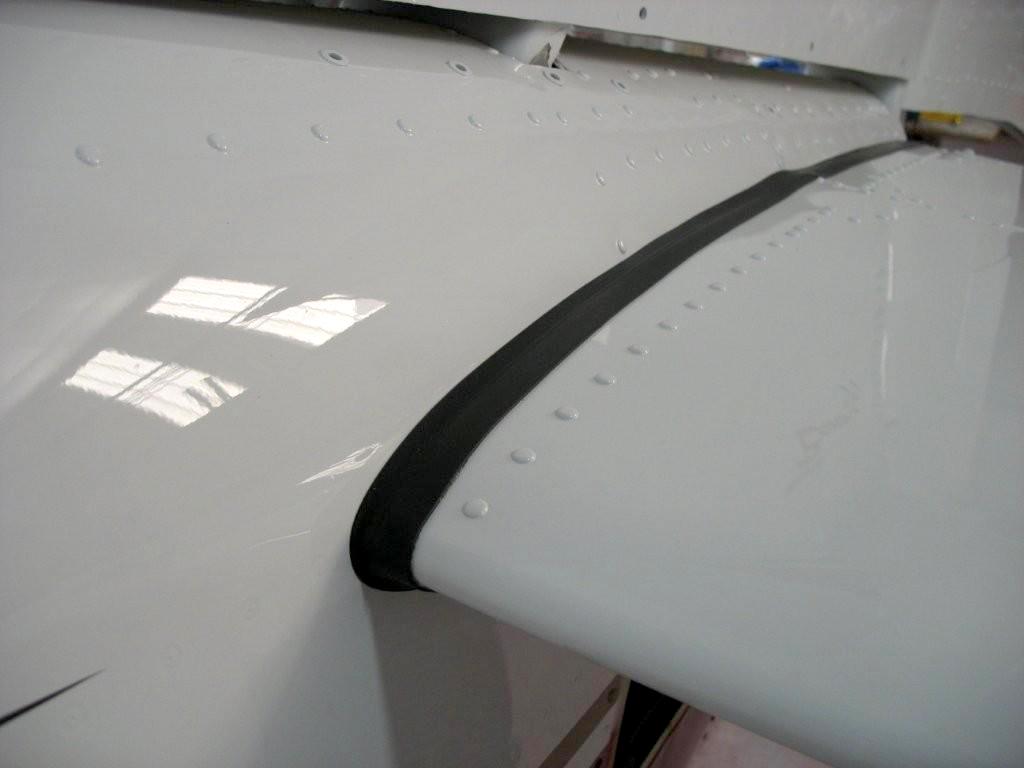
Click HERE for a great wing root seal install pirep narrative from F33A owner Danny D.
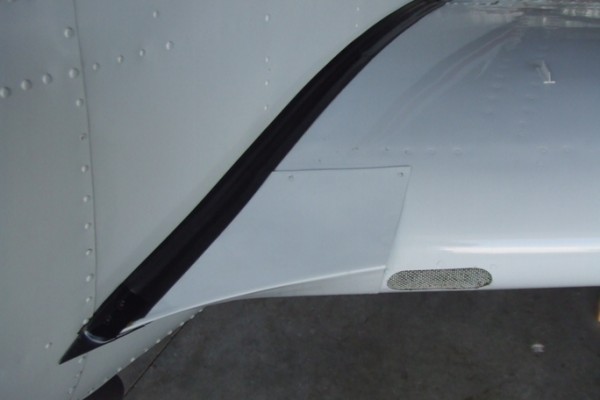
Below are the pictures from Danny's install tactics. After reading his narrative the images below will be self explanatory.
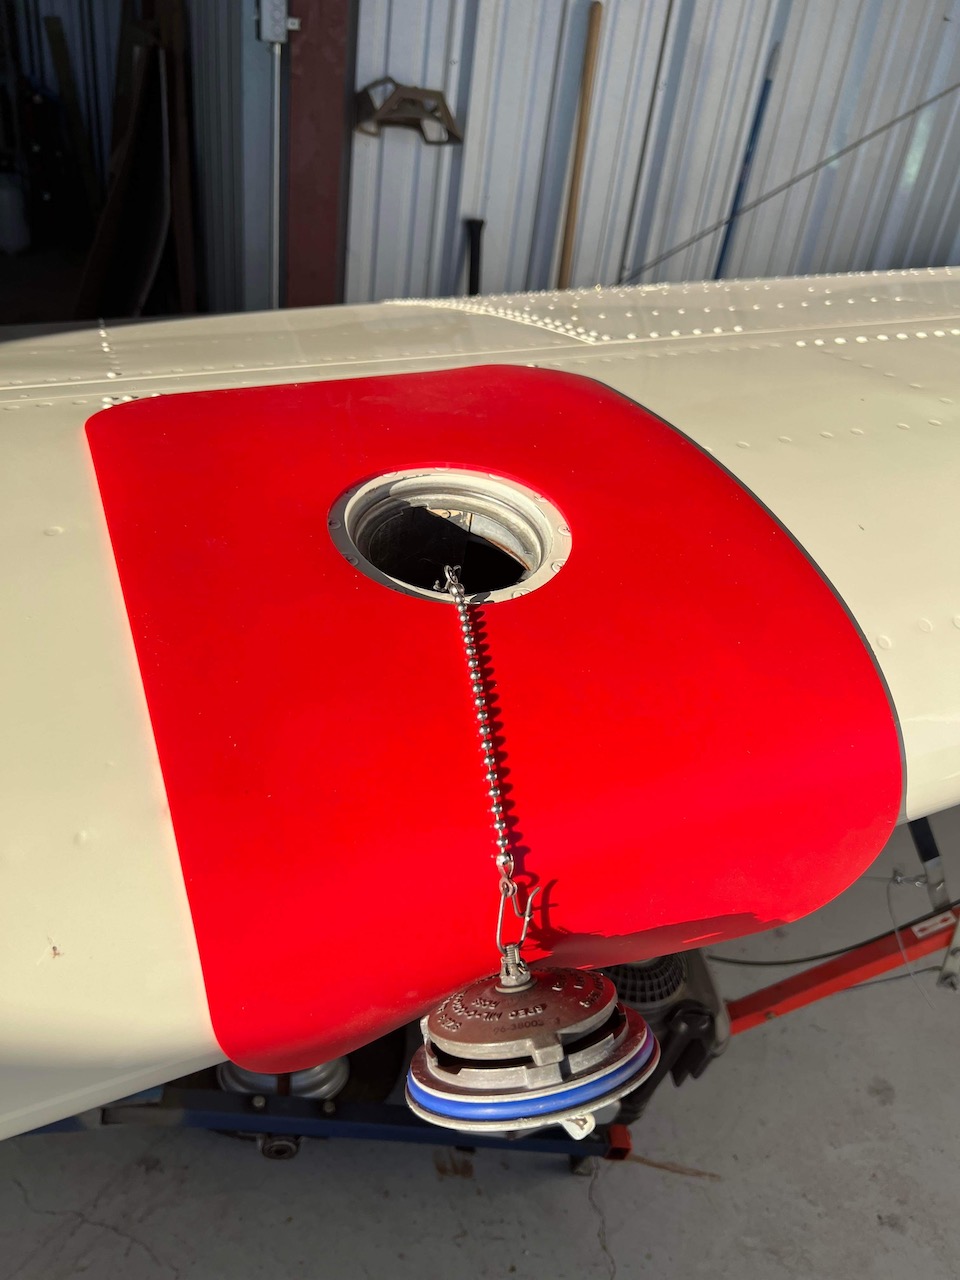
Here are the results of Beech Talker, Ron B.'s
use of the wing root seal install pireps and his own sweat equity and patience!

Here are some great SILICONE (yeah it's better
than rubber) seal product offerings from Gee-Bee Products
Main Landing Gear Anti-Chafe Door Seals
Six Seals (3
sections each leg) $75.00
Straight Tail Horizontal
Stabilizer Seal
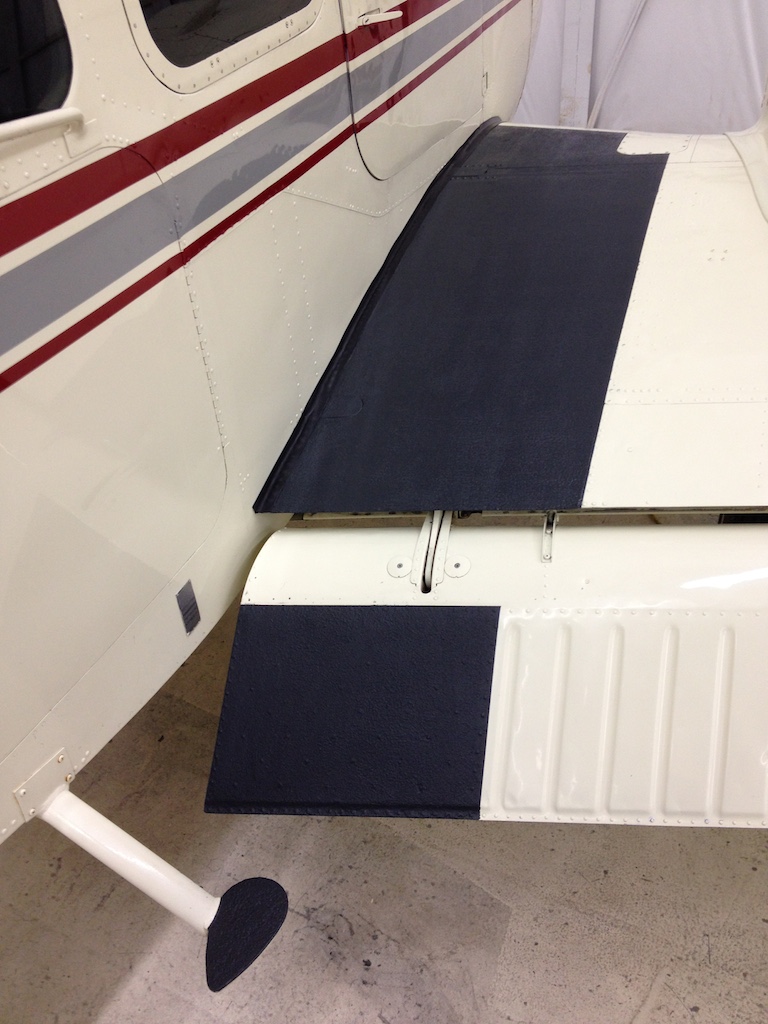
 Upper & Lower Wing
Seal Combo $897.50 (Standard factory width) Upper & Lower Wing
Seal Combo $897.50 (Standard factory width)
- Six Seals
- Black or Grey
- Four lower seals to cover jack point cover
Upper & Lower Wing
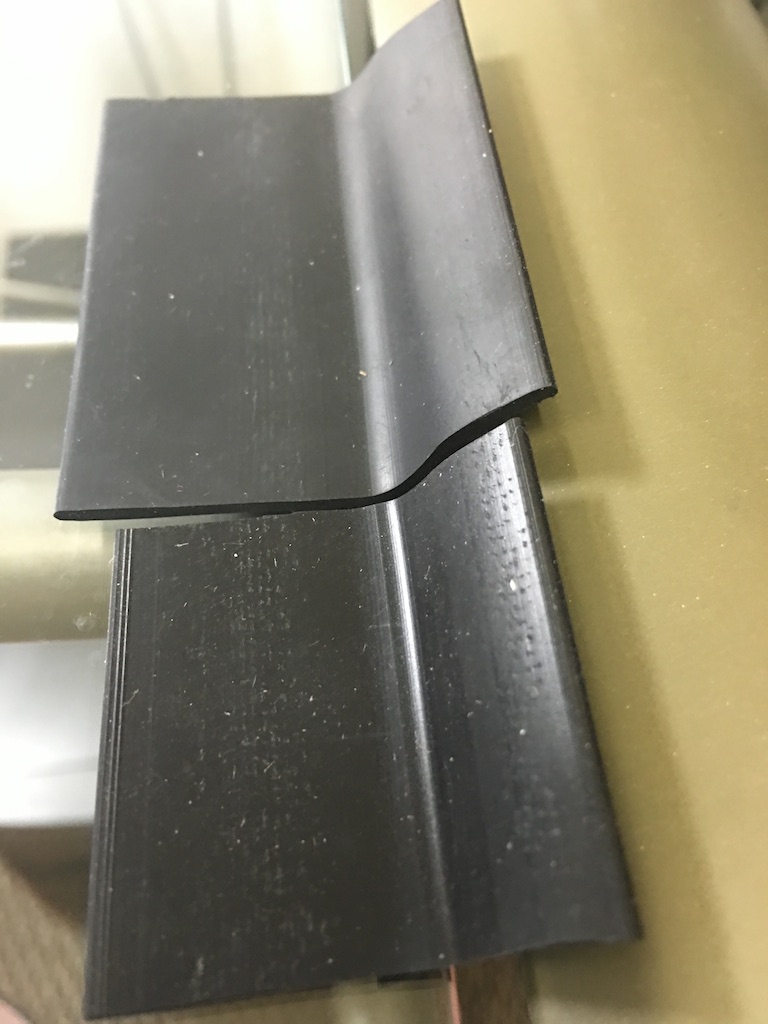
Seal Combo with 3/16" WIDER WIDTH* Upper Seal $997.50
*Upper seal design is 3/16 inch wider to cover old paint and/or adhesive residue
- see image below.
PS: In these inflationary CV supply chain times, silicone material has increased another 47%  ! !
V-Tail Ruddervators Standard Width $95.00
V-Tail Ruddervators 3/16" Wider Width (to cover painted surface) $125.00
Tail seal std
33-36-55
225.00
Black or grey
Two seals 7.5 long
Baron tail seal
Same as upper wing
475.00
Black or grey
Two seal 7.5 long
-3/16 wider
Not painting
575.0
Two seals 7.5 long
Ruddervator seals
Two each 0720 long
Black or grey
155.00
-3/16 wider
Black not painting
175.00
Cowl chafe
No change
Gear door chafe pair
Nose and main gear
155.00
We do custom colored wing seals starting at 2250.00 set
We have a New Boeing spec foam we're changing to .
Nose gear door anti chafe $65.00 or complete chafe set for 33-35-36
$457.50*
*Bonus Wing Fuel Pad Included
Framed Storm Window Seal $65.00 (new production silicone-ribbed like OEM)
All Shipped with Clear Silicone cement, gloves, acid brushes and razor
trim blade included.
Guy Ginby -
Owner
Click
 to E-mail Guy or N77GB at MSN dot com
We Accept
PayPal to the Above E-mail Address
We Ship FedEx
Ground (Requires Phone Number)
Store
Minimum Order $105.00
Gee-Bee Products
800-556-3160
GeeBee
Store Home
PS: GB likes to use a fine brass brush to remove old cement.
Here are more thoughts from Guy on wing seals:
- The cleaner the surface the better for adhesion
- There is a shop that knows how to loosen the wing and slip them in with a
support assy....
- The factory installs the seal before the marriage of the wing/airframe...
- I wish the factory would switch to our silicone seal and then the wing
could be painted and the the seal installation could be done after the paint
work for and a cleaner finish, the yellow cement looks terrible
- Lifetime warranty with the Silicone seal
- No Color change, no change in durometer (will not harden over time)
Here are some adhesive removal thoughts:
- Beware of using MEK, it can soften and
remove paint and in high concentrations the fumes can negatively affect your
plexiglass windows.
- Boeing has begun using a replacement for
MEK called Citrasafe. Info
HERE and
HERE
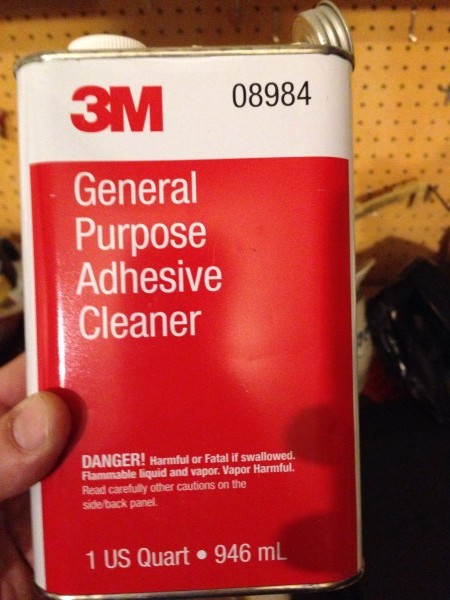
- Toluene and "Goof-Off" have been reported
to give good results as has 3M #08984
- Peerco 321 is also very good and is
available in 16oz containers for $35 HERE
Pirep #1
Well gang, after a lot of
procrastination, I finally installed new wing root and horizontal stabilizer
seals on my A-36, finishing it up this afternoon. They look REAL good, and it
was worth the effort. Here's my method for the wing root seals, which worked
fairly well, it took about 4 hours per side without a helper. The stab seals
were a piece of cake compared to the wing seals.
Cut majority of old seal off using razor blade, leaving a small lip sticking
above the wing. I then used a small pick bent at a 90 degree angle, with about
a 3/8" 'hook' on the end. Using the hook, I stuck it under the wing skin,
between the skin and the old rubber wing seal lip under the skin, and forced it
along the chord of the wing. This broke the rubber lip on the under side of the
wing skin free from the wing. Then I fished out the rubber pieces that were now
broken free. Once all of the old rubber was off, cleaned up old glue using MEK.
MAKE SURE YOUR WORK AREA IS WELL VENTILATED - THIS IS NASTY STUFF. Now for the
fun part - installing the new seals. From what I had read I was dreading this,
but it went very well. I used Go-Jo hand cleaner for a lubricant, and was able
to install both root seals without having to cut off the lip as some have
suggested. The seal, when lubed with Go-Jo will fit in the narrowest of gaps
using a little elbow grease. Just lubed it up, put the lip between the wing and
fuselage, and using my fingers, was able to push the seal in to place. Again,
no where did I have to cut off the lip, except over the wing attach fittings.
When the seal was in place, I cleaned the seal and wing skin with a mild solvent
(Pre-Kleano) to get the Go-Jo off, as well as to generally clean up the rubber.
Then using masking tape to mask off areas where I didn't want to apply glue, I
applied contact cement on the wing skin and rubber, and once dry, pressed it
down for a good flat seal. It really looks great. Go-Jo is VERY slippery, and
it worked extremely well as a rubber lubricant. This worked for me, your
mileage and HP may vary.
Pirep #2
To remove the
old, I tried as best I could to remove the old in tact (no razor blading as best
I could). I tried to pull the rubbers up some, then use #M adhesive remover and
when needed, I used MEK on a rag trying to touch the rubber more and the plane
less. The removal, clean up, and prep takes all the real time of this job (just
ask Mike McNamara -- LOL).
The
adhesive is applied to both the wing area (more) and the fuselage area (less)
where the rubber will cover it. I used 3M blue line tape to mask off the work
area. I use acid brushes to brush on the thinned out 3M 1300L and let it dry.
I brush the
thinned out 1300 L onto the rubber as well (not including the tongue). I brush
on Corrosion-X onto the tongue in a careful, thin amount - just enough for a
lube during the insertion (sounds like...LOL).
Taking the
MEK and another acid brush, flash the adhesive (make it sticky again) for about
one foot, insert the tongue, line up the rubber, and press into place --- now
one foot of the rubber is attached - real good. Now flash another foot and
insert it, then another foot..... When done, remove the blue line tape, use MEK
on a rag to remove any "extra" adhesive or use the 3M adhesive remover, clean,
and then wax that paint area that was "hit" by the work.
Expect an
eight foot length to take 2 to 4 hours to clean and prep and less than 1 hour to
install the new piece.
Pirep #3
Changed
mine out several years ago. Was told to cut as little of web as possible,
masked and glued the area where it would seat, glued the rubber (3-M weather
stripping glue, contact cement). Allowed the glue to dry, then re-activated by
re-applying glue as I worked the seals into place. I used a large screwdriver
that I dressed-up with a grinding wheel, rounding the corners and blade edge.
Took all day, but the results were excellent. One of the old Beechcraft line
guys at the ABS convention in Wichita saw the work and remarked that it looked
better than theirs! Both strips have remained attached 100% and still look
good. If anyone wants the 3-M number for the glue, let me know and I'll dig up
the old tube.
Feel free to
Email me any pictures of your wing root seal
install
|