|

Fuel spewing out of your fuel cap is not what you want to see happening
just after takeoff or ANYTIME in flight! And certainly NOT in an IMC situation

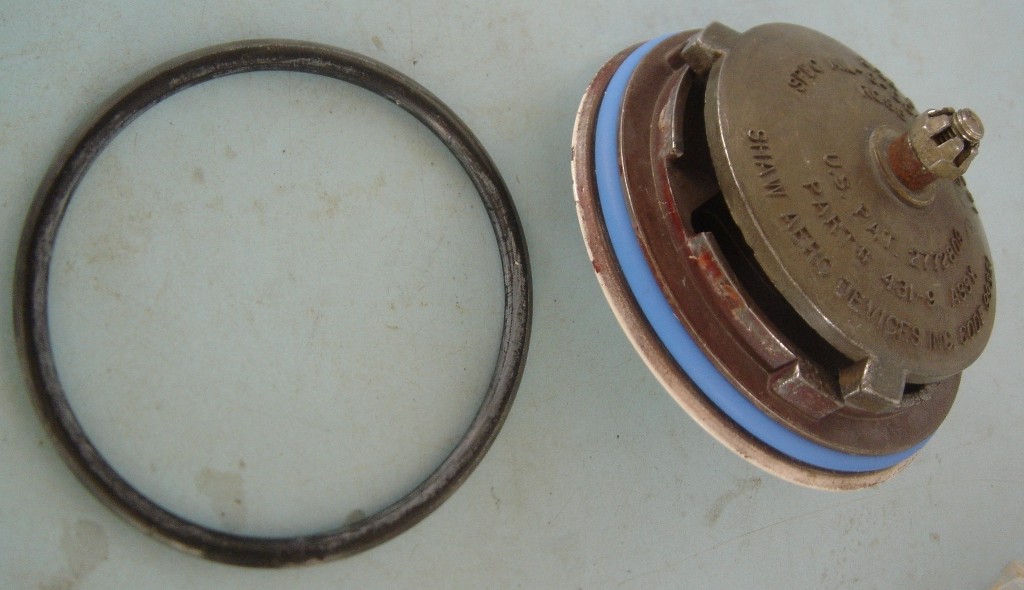
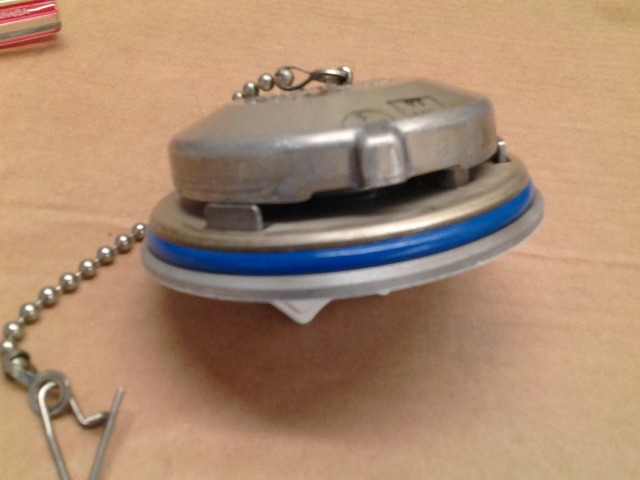
Be sure to note how the fuel cap is placed in
the sealing ring of the airframe. If you see it cocked in any unusual
way.....check it out for proper seating. This will be a clue to the pilot doing
a proper pre-flight, especially after allowing line personell to fuel your bird.
The least of your CSOB worries is
the lost 100LL fuel.
Click
HERE for a SAIB from
the FAA on water contamination of fuel
Click HERE for an ABS Video on Fuel System Maintenance
Click HERE for an ABS Article on Fuel Cap O-Ring Replacement
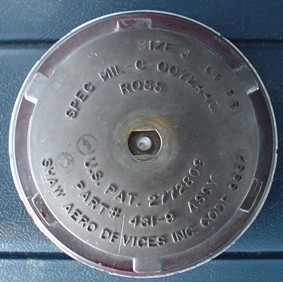
Below is a May 2019 pirep from Bonanza
owner, Bill J., regarding his replacement parts find for his Shaw 416-50 caps:
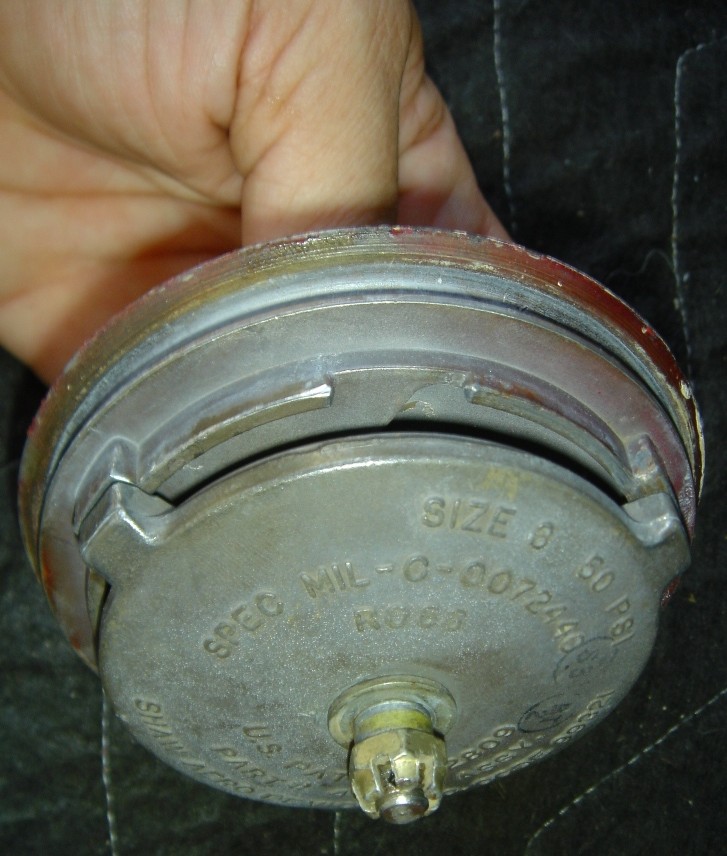
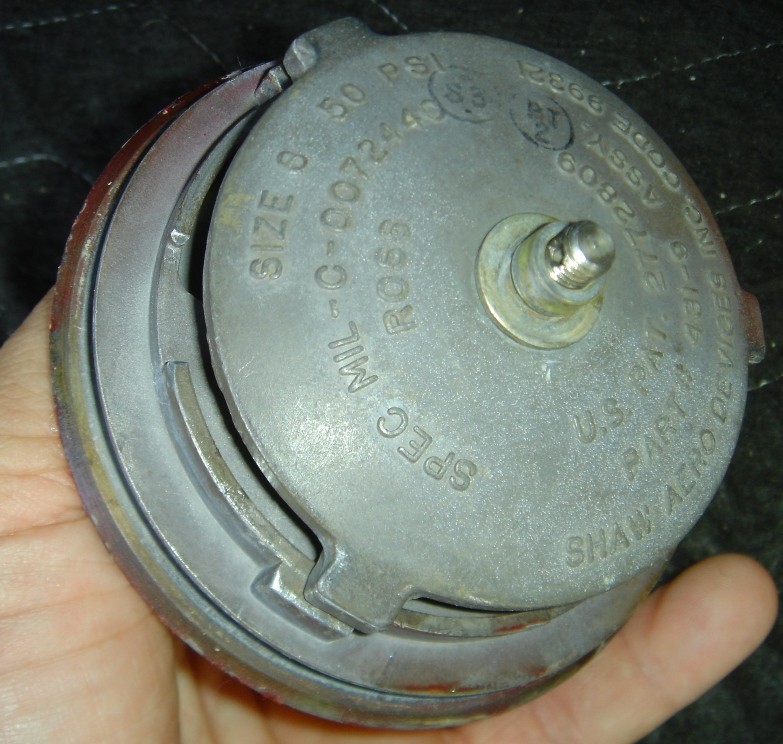
"I got tired of worrying about my worn out fuel caps on my M35. Bonanzas from
J35 - mid-N35, use Shaw Aero 416-50 "non-indexing" caps - no notches. But being
the ultimate CSOB, I also got tired of buying other people’s junk on eBay
advertised as "working condition" only to find the levers were worn out.
I collected part numbers, a parts diagram, and combined them, along with
quotes for many of the parts from Preferred Airparts. The levers themselves,
have 4 different part numbers, the pins that hold them onto the shaft, 3 p’n’s.
Thankfully most of the parts are available. All are listed.
Alan at Preferred Airparts was quite helpful, sending pictures of some items
to verify they were what we thought, and his pricing is reasonable to boot.
I bought new levers, new pins, new friction "plates" and new shims for 3 caps
for around $70.
Hopefully this info will help others rehab worn cap levers or corroded
shafts. April Showers should bring May Flowers, no engine failures…
Click
HERE for Bill's summary
outline of part numbers.
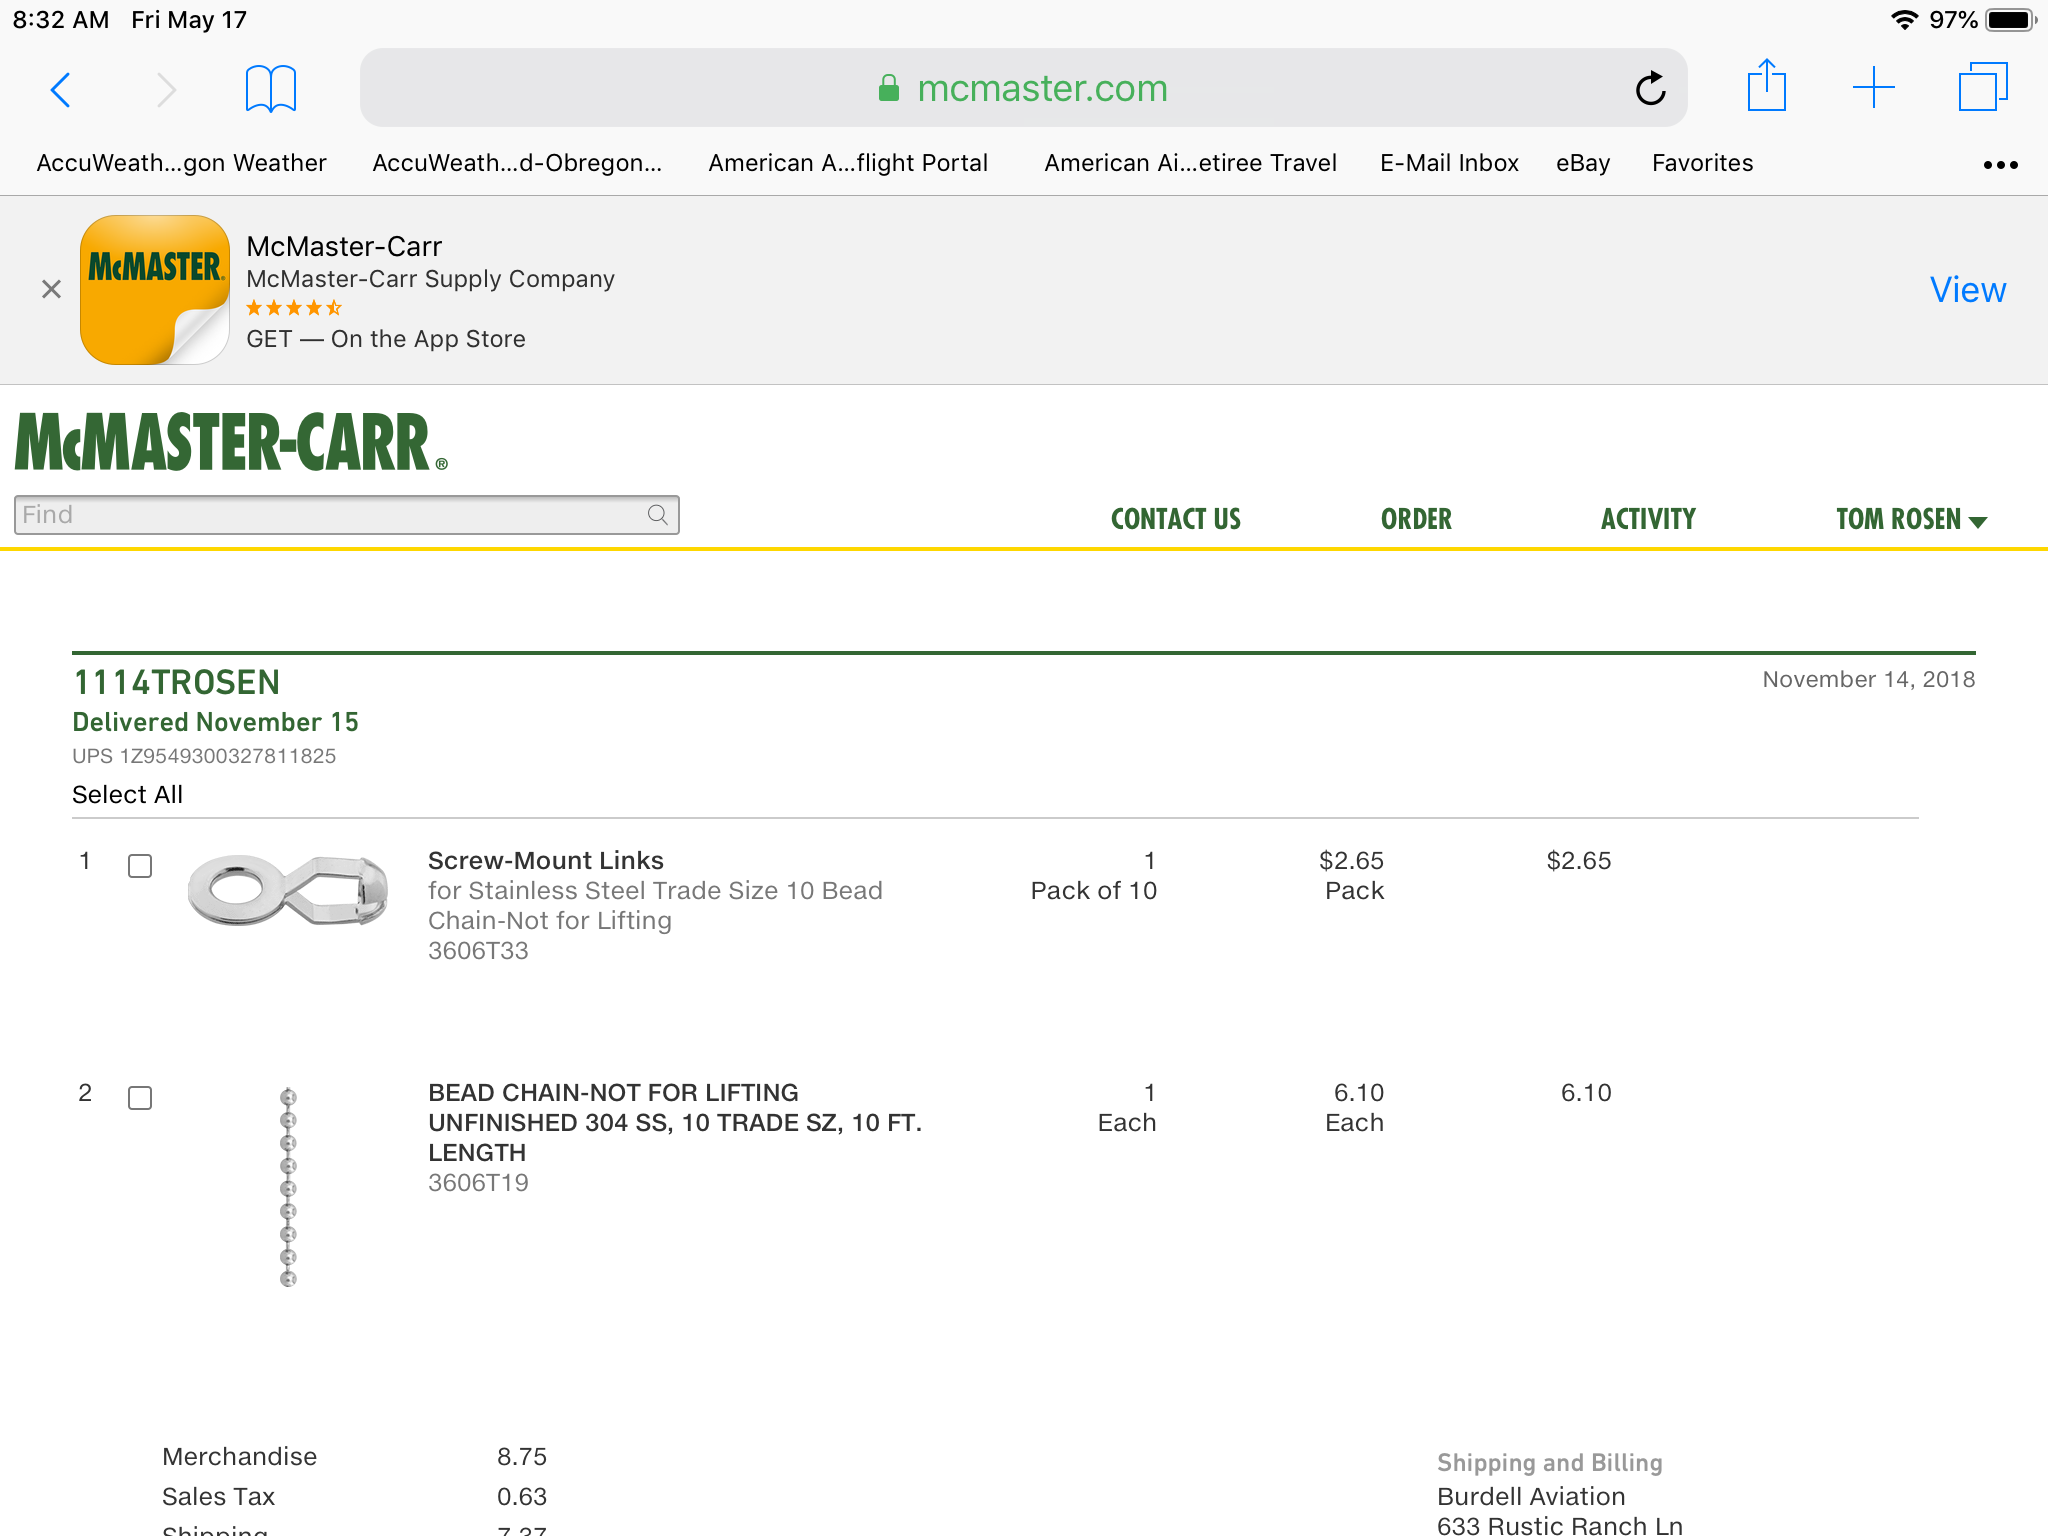
Here is an image showing
McMaster-Carr sourcing for
the bead links and holder
Courtesy of Bonanza owner, Tom R.

Buy Flurosilicone Fuel Cap Kits from
Gallagher Aviation, LLC.
I will admit, this has happened to me once. It
happened as a result of one end link of the little chain on the cap getting
caught in the sealing lip. The cap, for all cursory visual clues, looked
properly closed. It was NOT!
Being a CSOB, I almost always self serve my
fuel and even if the FBO fuels me I will always be standing behind the line guy
to check the fuel loading and be ready to seal the caps. I can count on one hand
the number of times I have allowed FBO line services to fuel my bird without me
physically being present at the time of fueling.
Just after lift off from my favorite CSOB
northern tundra fuel stop in
KCLI, at maybe
400 AGL, my commercial ME pilot buddy in the right seat notices fuel streaming
from the right wing aux tank cap and says: "OH NO, Fuel leak!"
I tell him it's OK and say out loud two-times:
"Fly the Airplane". I fly a normal pattern at ~800 AGL and land uneventfully.
When my buddy and I landed (fortunately severe clear VMC prevailed) I was able
to see the chain link and how it had gotten wedged up under the cap and sealing
ring of the airframe.
From that moment forward I now always
purposefully clear the chain of any kinks and see it drop down and away from the
metal sealing surface of the fuel opening in the airframe.

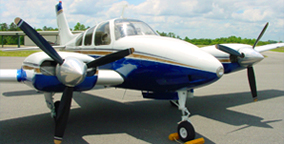
Also, keeping your fuel cap O-rings in great
shape is good fuel cap leak prevention. Just look at what happened to this
really nice B58 Baron from water contamination of the fuel past a poorly
maintained cap and o-ring:
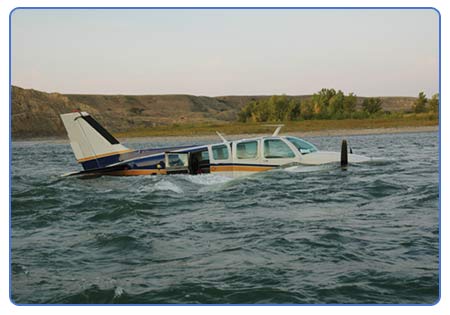
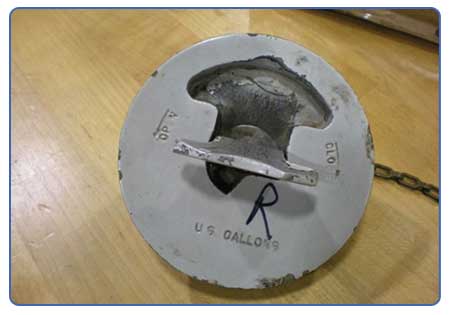
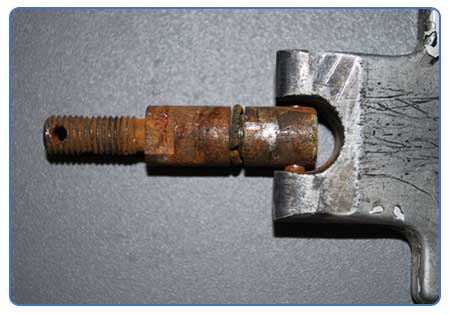
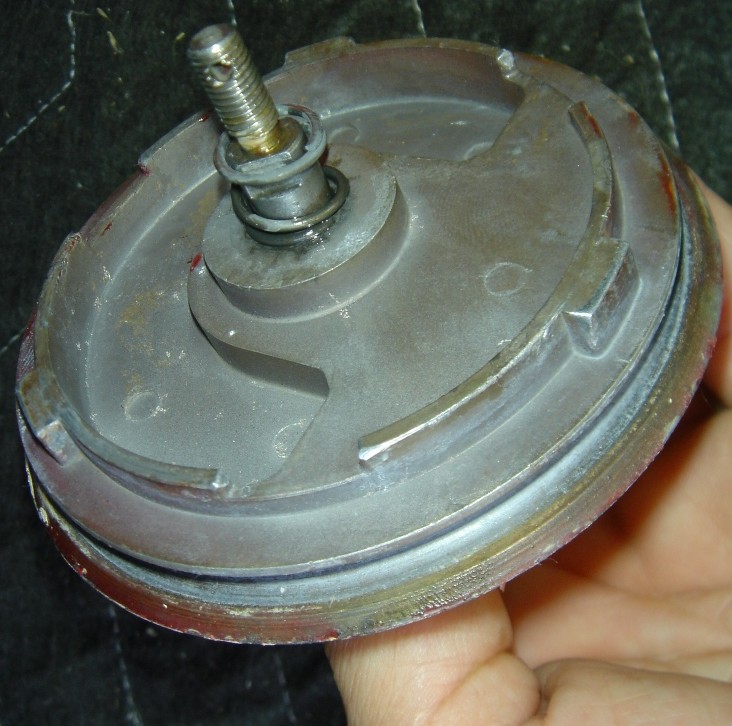
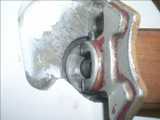
The right engine sputtered to a stop just
after takeoff. Here is the fuel cap center shaft from the above splashed Baron,
you decide!
See the whole article on this B58
engine failure
HERE
See the O-Ring page
HERE for some
popular fuel cap O-ring PNs. While you're there, give some thought to upgrading
to the long life Blue
Fluoro-Silicone O-rings listed there.
Baron Owner & IA, Stuart S.,
posted this pirep on his Fluoro Silicone o-rings: "Mine are like new and they were installed in 1996."
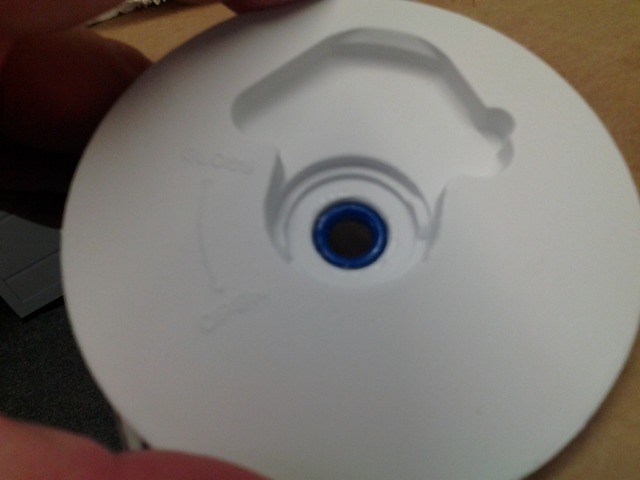
Here's a little tip for when your plane has
been hangared outside after a big rain has come through. A little while after
the rain storm, look inside the tops of your fuel caps. If I see water pooled
there behind the locking tab, to me that's indicative of decent inner
O-ring sealing condition on the rotating shaft of the locking tab. If I don't
see any water pooled behind the tab, I'm going to get a little concerned and do
an extra special sump job. This won't,
however, tell you anything about the big O-ring condition. A visual inspection
for cracking and checking of the outer O-ring can be a good way to determine
fitness for use.
Fuel Cap Tip #2: In addition to your normal
pre-flight fuel sumping routine, be sure to add an extra look and focus on
sumping when hangared outside after a rain storm or after washing your plane.
This is one of the greatest opportunities for water to enter the fuel tanks
through poor O-rings or bad fuel cap sealing/mating surfaces.
Fuel Cap Tip #3: After fueling and just prior
to getting in the plane for startup, I make just one last purposefully SLOW walk
to each fuel cap and make that last check for proper sealing of the caps and I
also make a scan under the airplane for any evidence of leaks, chocks AND
towbars!
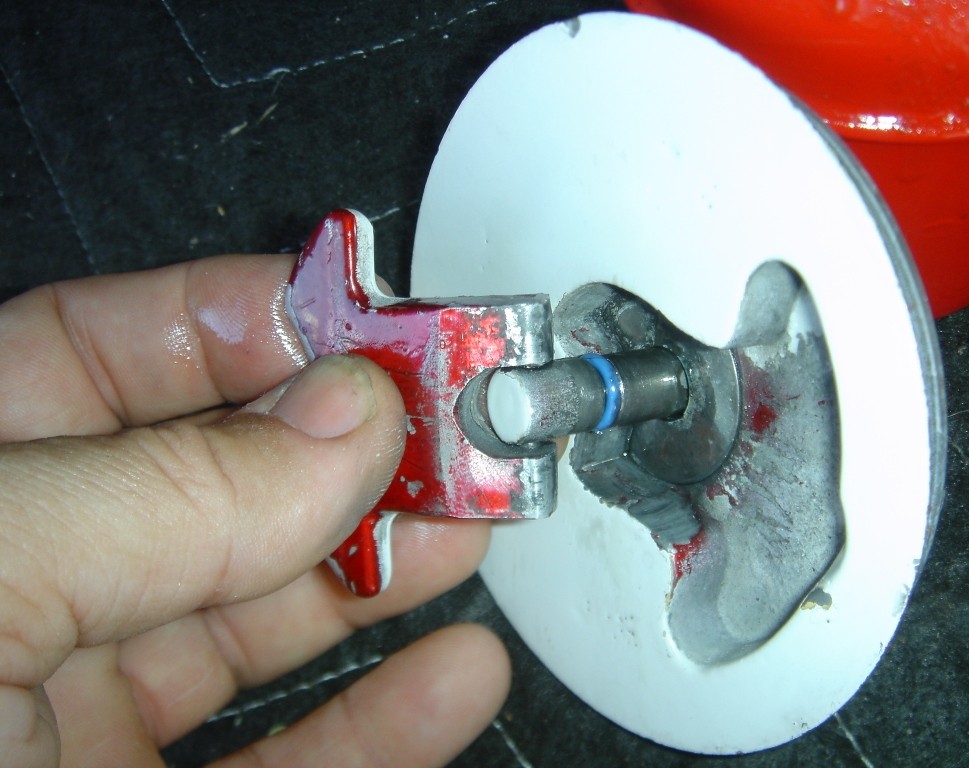
Fuel Cap Tip #4: This is what can happen if
you try to snug up the cap sealing force on the closure tab shaft and you run
out of threads on the center shaft or corrosion is built up on the nut and shaft
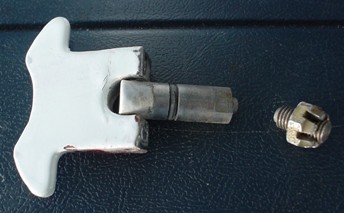
Don't ask me how I know!!! You don't want to
be on a trip and have this happen to you as you will be AOG!
My caps are all fine and have been for over 4
years but I still carry a spare in my little "AOG box" that I got from a Beech
lister way back when. You might consider carrying one or vow never to mess with
your caps while on a trip or just before a big trip.
Here are pics of my O-Ring swap out to
Fluoro-Silicone
units: 
This is why you need to look at your O-Rings carefully AND
OFTEN!
Especially if they are the 1940s technology nitrile rubber
versions.
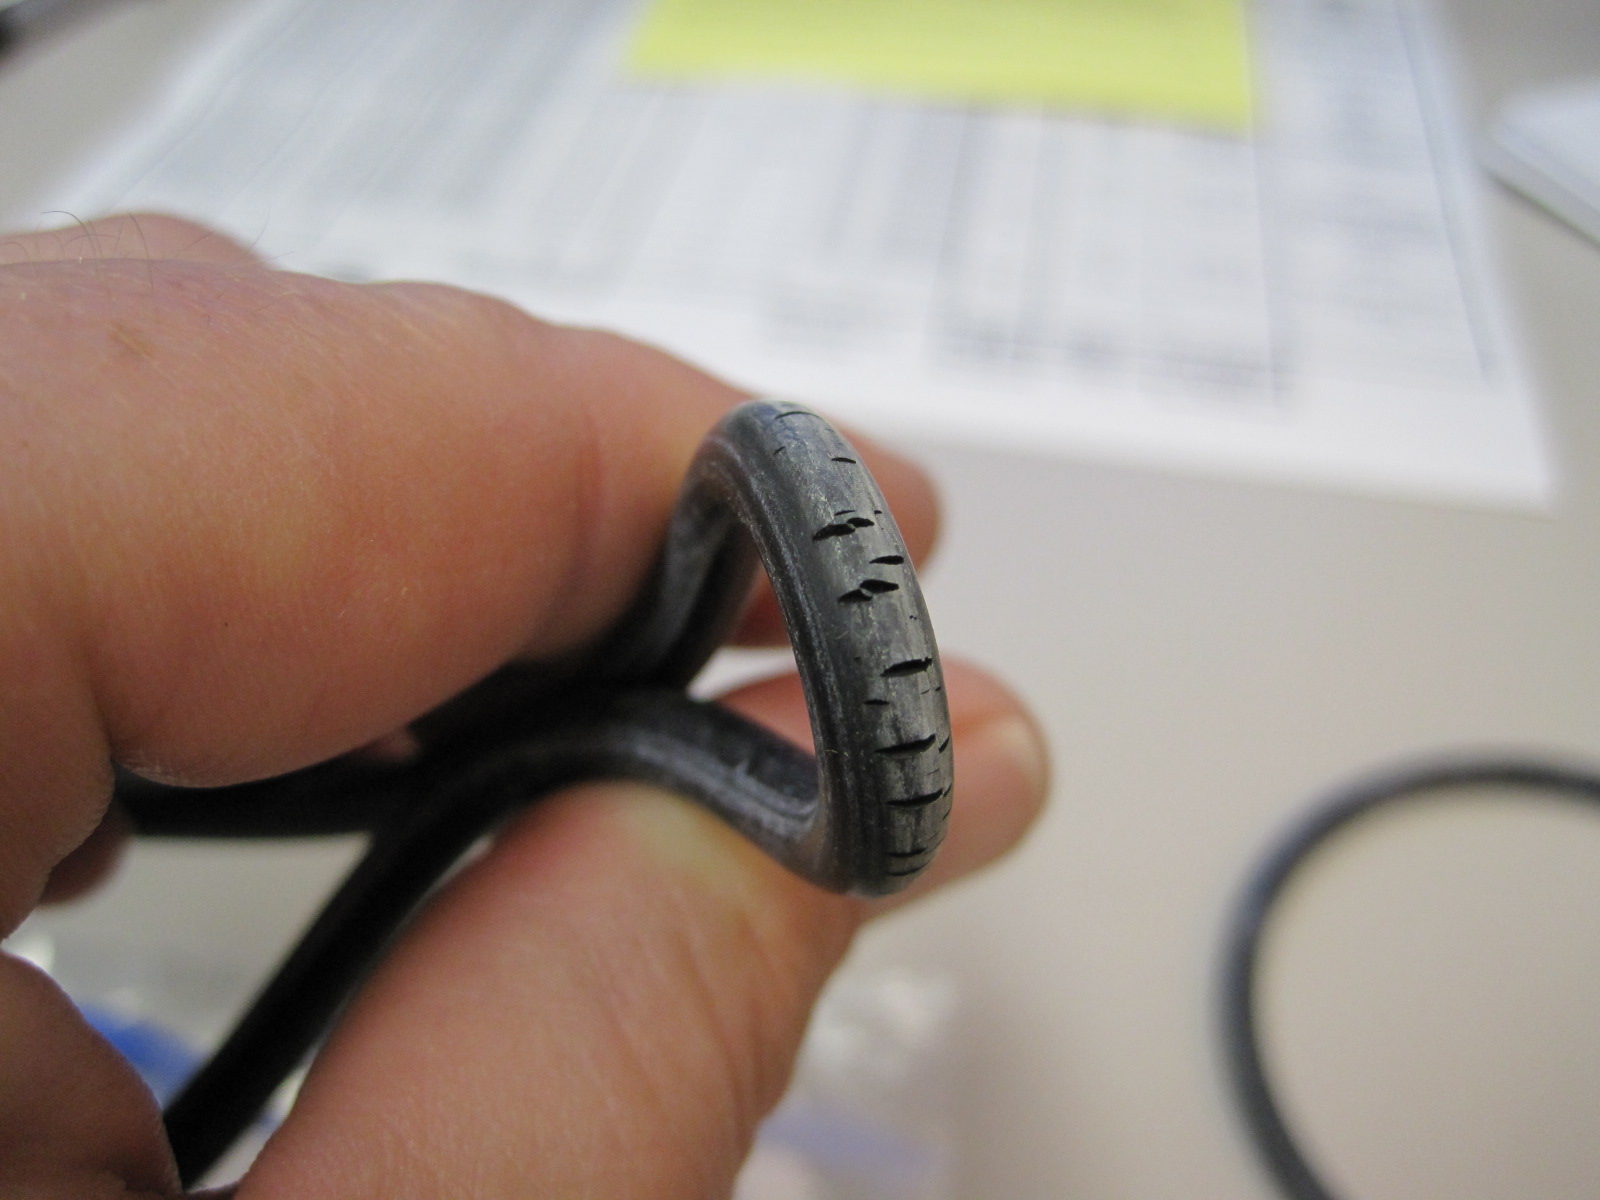
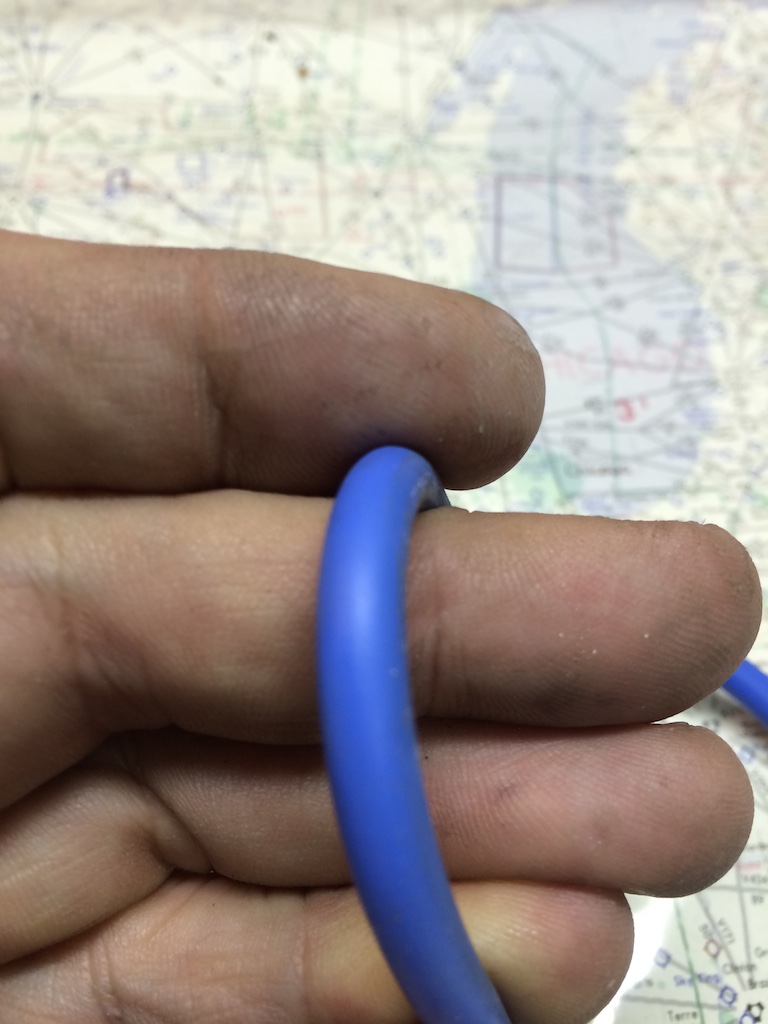
Below is a picture of my
flurosilicone fuel cap O-ring taken on 12/13/14 (yeah, that's a cool date) which
has nearly 6 years TIS! You and your A&P decide which you want to use.....
See a Shaw 531 Fuel Cap O-Ring
Change Article written by
BeechTalker, David M. HERE
Thanks for the contribution David
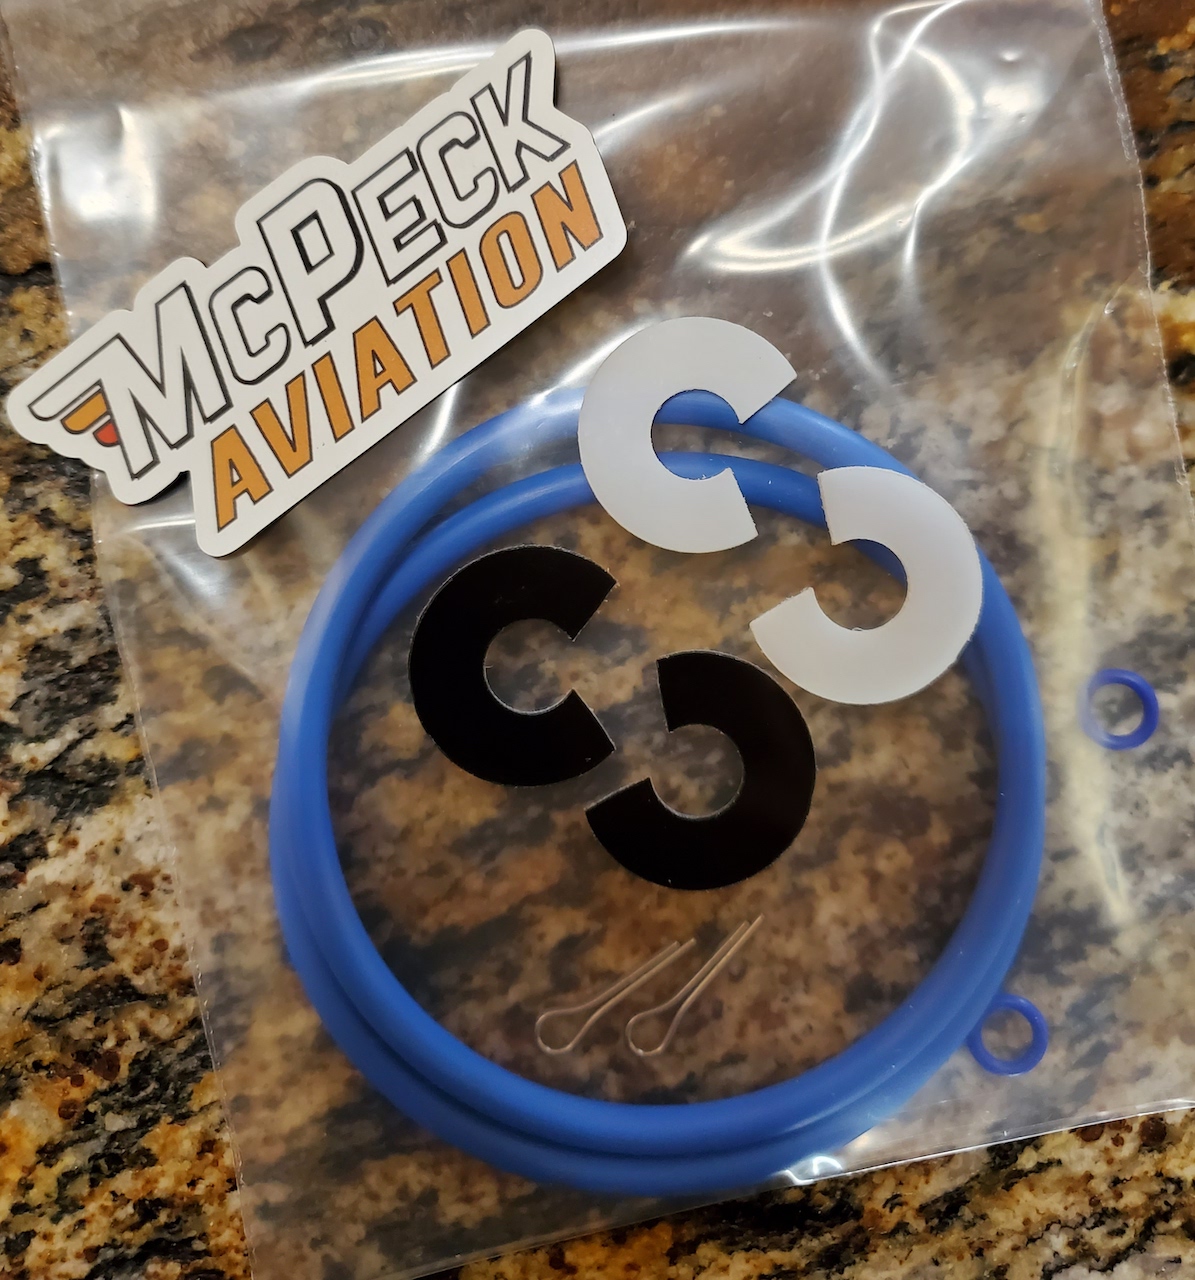
Resin Fuel Cap Washers & Flurosilicone O-Rings
from McPeck Aviation
For SHAW BRAND CAPS ONLY


High
performance resin fuel cap washers. Replace the worn metal
washers under the Shaw fuel cap tab. Ultra low friction for improved opening
and closing of the fuel cap. Resists wear and eliminates metal on
metal chaffing of the fuel cap components.
Similar products are offered for $115.75/pair on Spruce . McPeck's sell for $29/pair. Available in black or white.
Below is the complete O-Ring & Washer Kit (includes materials for TWO Shaw Caps) available from McPeck Aviation for $56.
Flurosilicone O-Rings only @ $13.50/cap
Click the PayPal logo below to make a proper payment to
McPeck Aviation for your
Resin Fuel Cap Washers or the Complete O-Ring & Washer Kit.
BE SURE TO INCLUDE YOUR
SHIPPING ADDRESS

Contact Adam McPeck for additional info or to place an
order
by clicking the box below

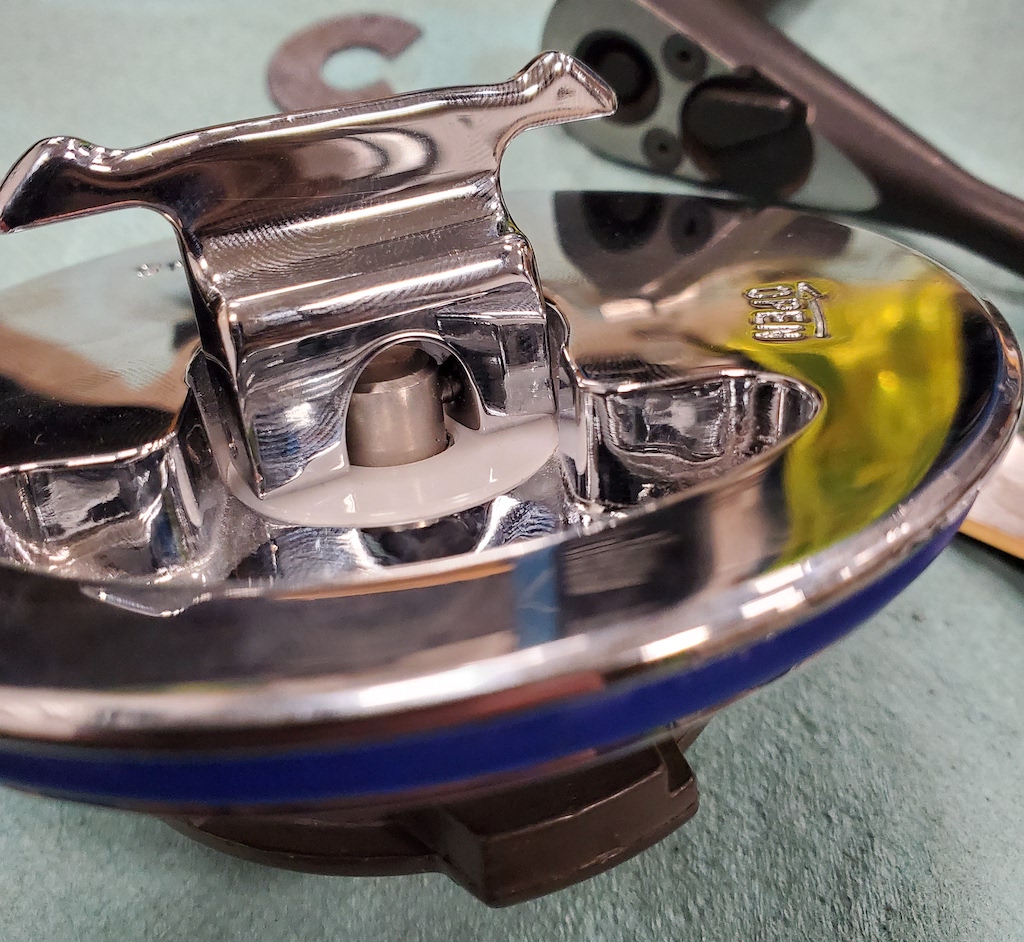
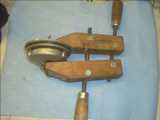
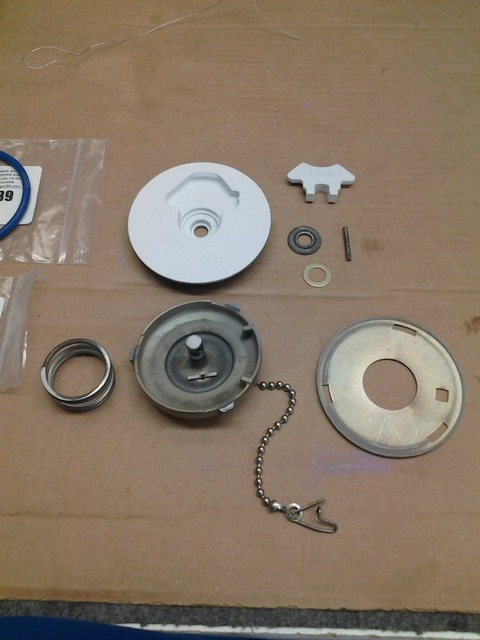
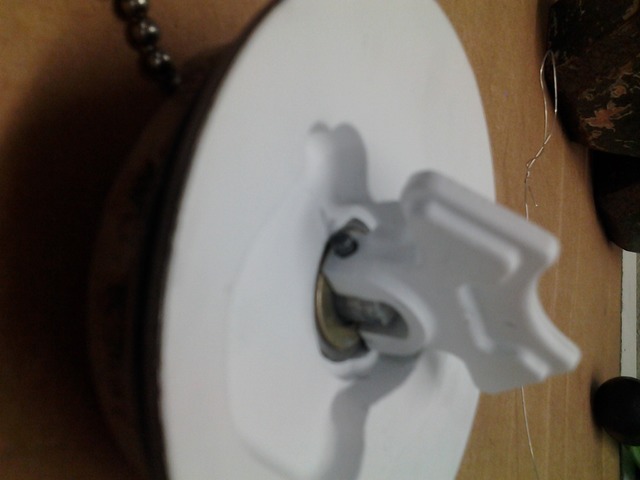
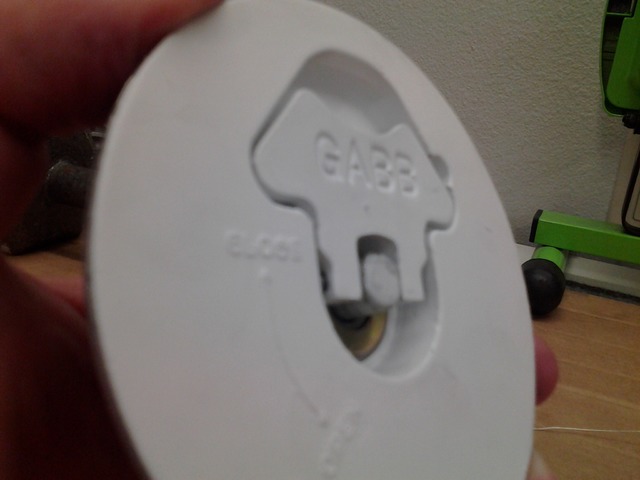
Here are some pics (courtesy of
V35 owner, Dale B.) of clamping a Gabb Cap for the center shaft o-ring change:
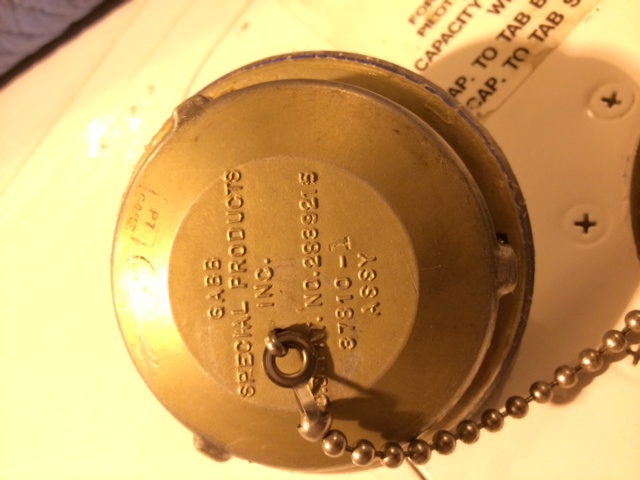
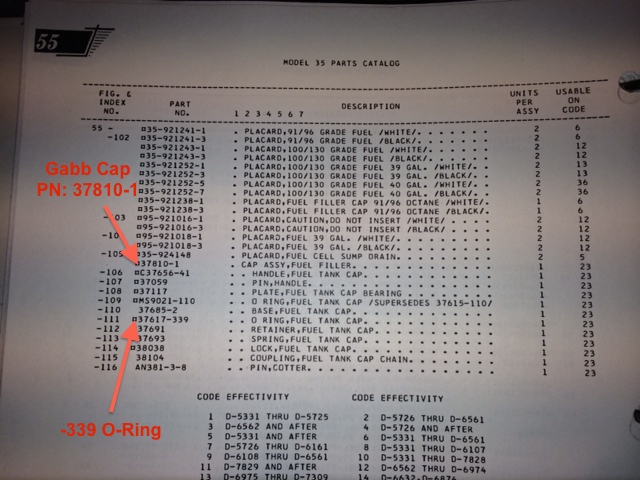
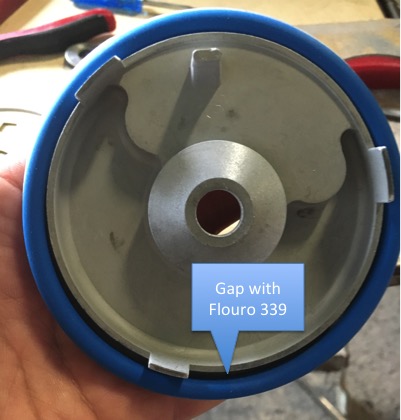
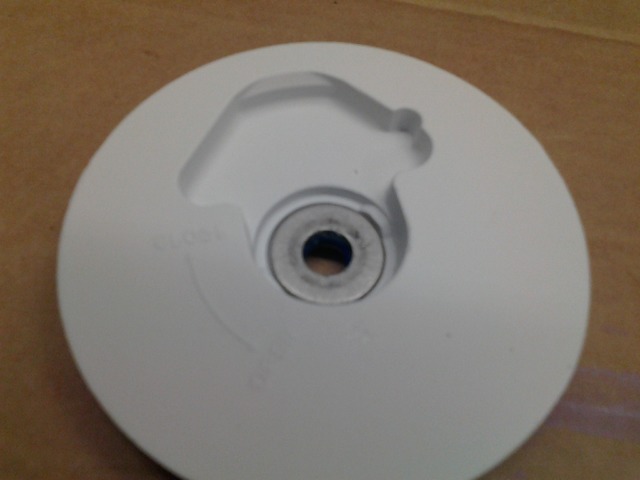
Here are some pics of a Gabb cap
used on a P35 Bonanza (courtesy of
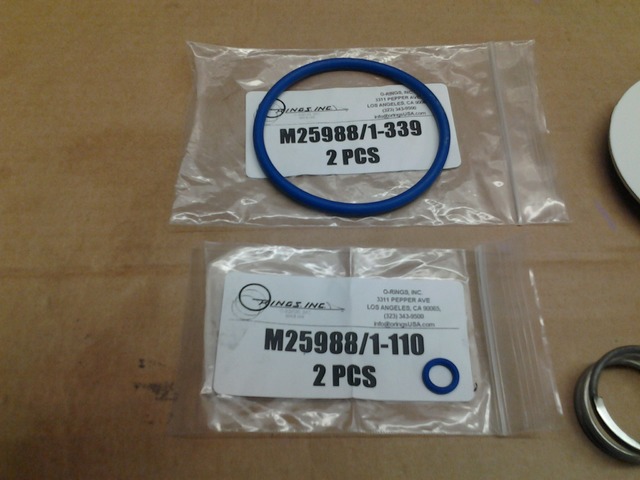
P35 owner, Jeff B.). There is some confusion about the big o-ring for the cap as
to whether it is a -338 or a -339. The IPC calls out a -339, however, folks
report that the -339 is somewhat loose and the -338 looks like a better fit.
Just a watch out that you double check what's being used in this application!
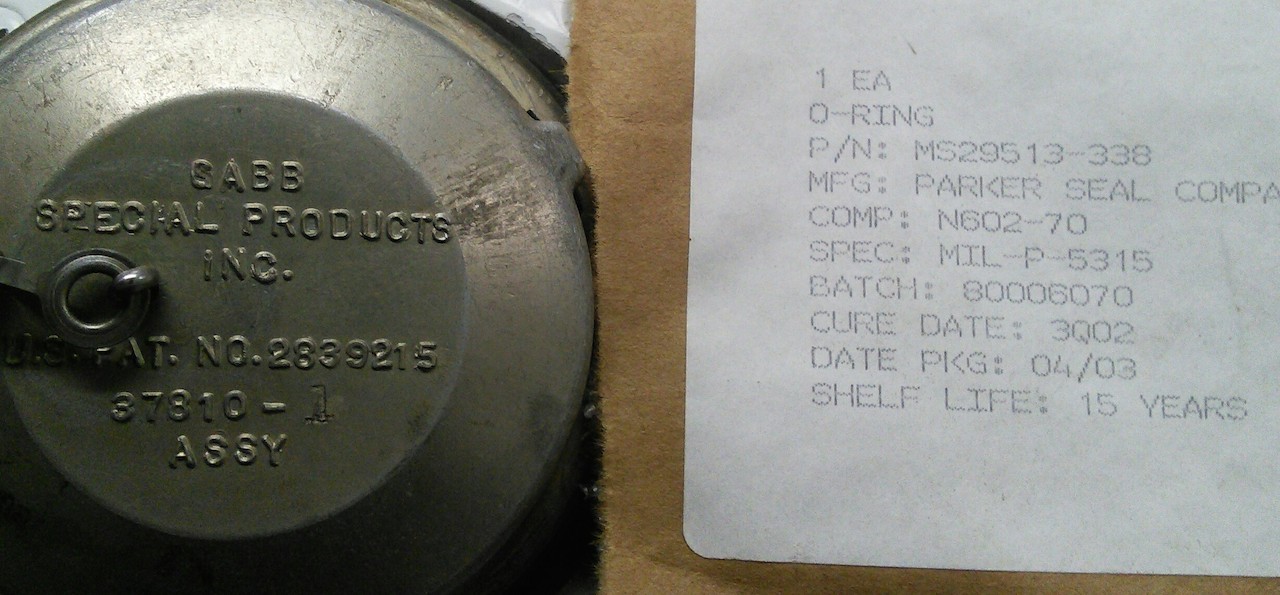
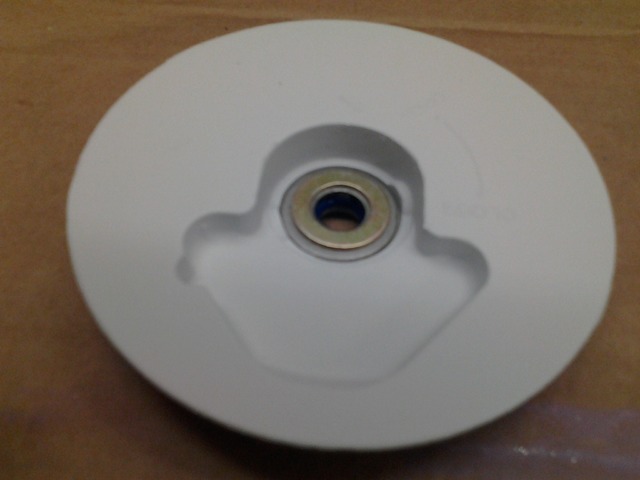
Here is a pic of a Gabb cap
where the owner reports a good fit using a -338 o-ring
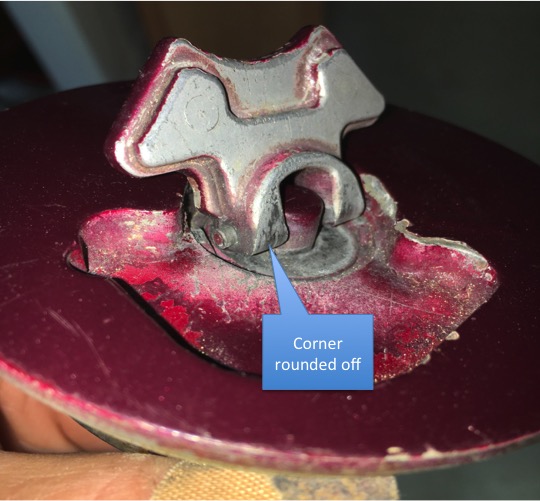
Gabb Cap
Disassembly & Repair of Rounded Corners by Bonanza owner Mark J.
Below is a narrative by Bonanza owner Mark J.
in which he outlined in his
BeechTalk post how he dealt with the rounded corner issue of the locking tab
in his Gabb fuel caps:
I just did both my GABB caps. Rotate the tab and push the hinge pin out of
the tab and the cap comes apart. I used a belt sander to flatten the bottom and
front of the tab. Leave a small radius on the nose so it rolls and lifts nicely.
I used a thin AN washer to shim up the amount of material removed from the tab,
so that when it snaps down, the lower section is pulled up tight to make a good
seal.
There is no adjustment bolt/nut, so the locking tension is a function of
height of the tab in the closed position. If you remove material from the bottom
of the tab to square it up, you will need to use a thin washer as a shim.
Easy job. I bead blasted and painted and used new flurosilicone blue o-rings. The tabs were
limp and stuck up, now they sit flush and snap down with some authority. I also
lubed the washers, shaft and spring contact surfaces with DC-4 and they operate
butter smooth.
Step #1
To disassemble, lift the tab and rotate. Then squeeze the cap together which
will give you some clearance for the pin to be removed. Then with a pick or flat
blade push the pin out then grab the other end with a needle nose and slide the
pin out. My pins came out easily. Now you can remove the tab. Once the tab is
off, just pull the cap apart into its respective pieces.
Step #2
The tab shaft had some mild corrosion, probably from water sitting in the
shaft. You can see the portion of the shaft that is still shinny, and that is
where the small o-ring rides.
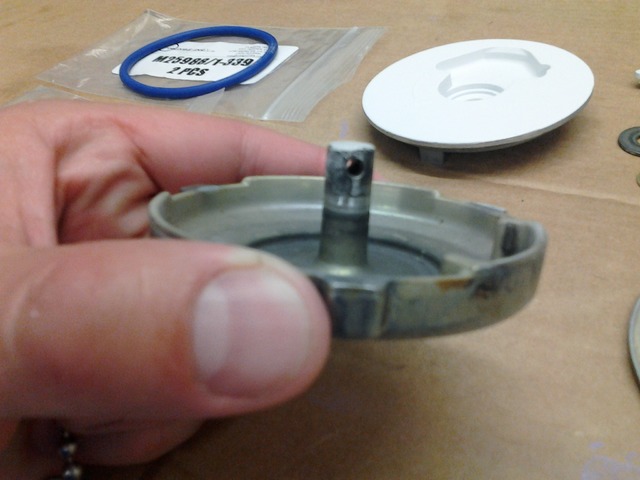
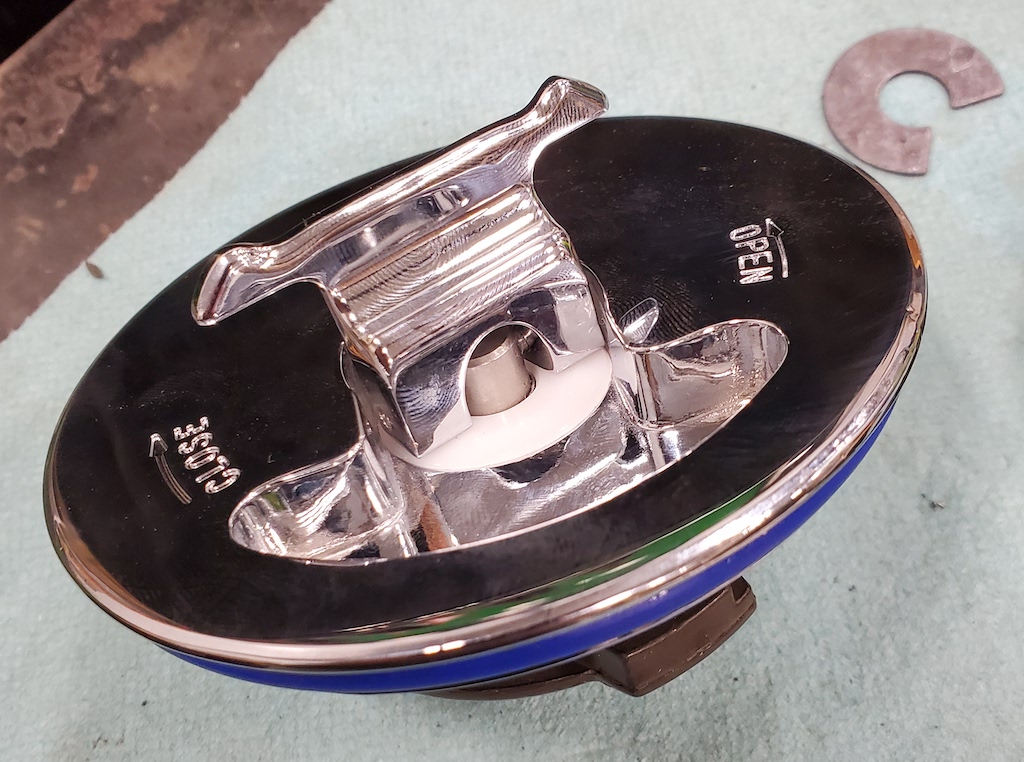
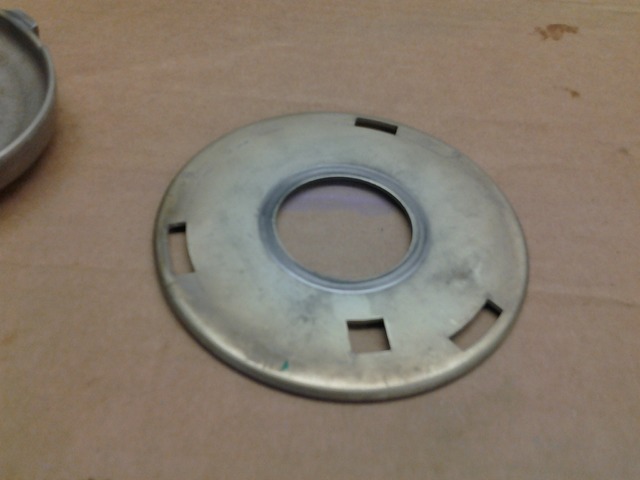
Step #3
Some light polishing with a scotchbrite pad and it looks like new. Notice the
two gates! The block on the top cap piece must be positioned inside those gates.
Those are the tab "twisting stops".
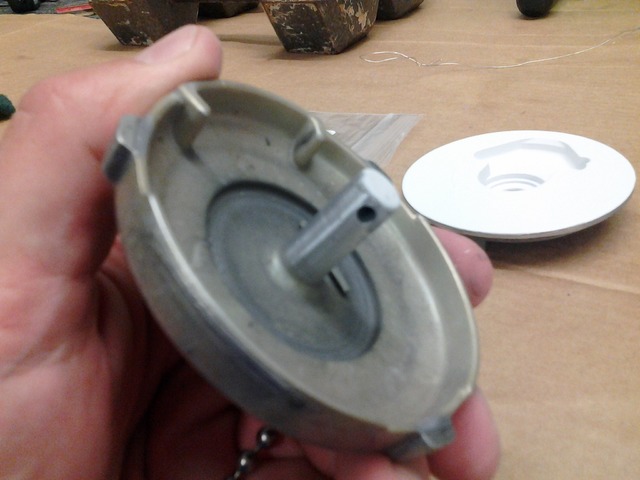
Step #4
The middle plate is keyed, and only seats
on the top cap piece one way.
Note the shiny portion near the center. The spring seats there and I used
some DC-4 there as a lube. Any light grease would work but I had the tube out
for the O-Rings anyway.
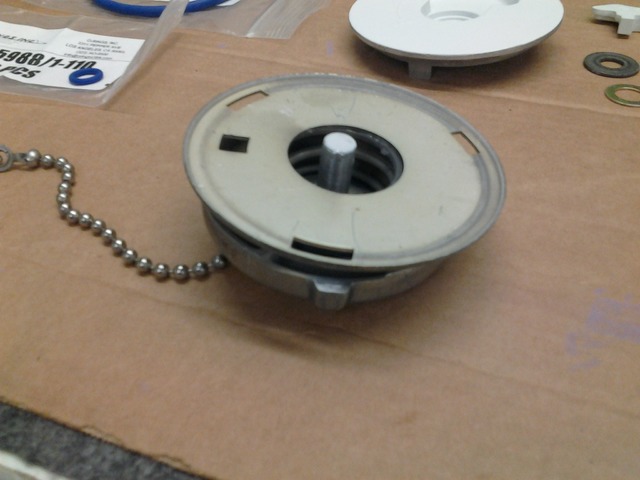
Step #5
Here the cap bottom, spring and center plate are stacked and ready to go.
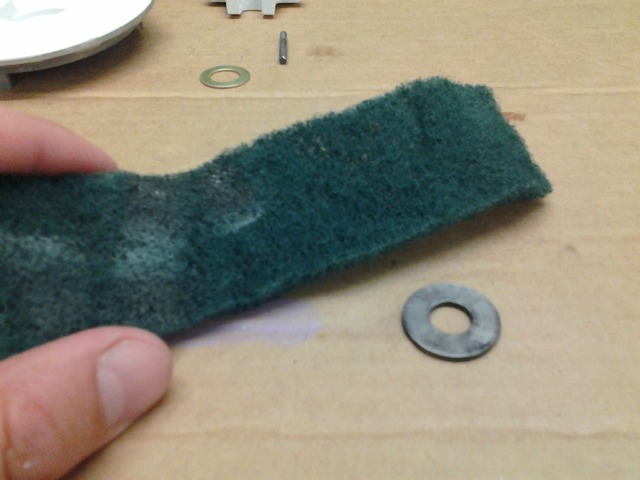
Step #6
I polished the washer with a scotchbrite pad.
Step #7
I bead blasted the top of the cap only. The cap is plated and I did not want
to damage the plating, so I taped it off. I painted with rattle can flat white.
Here you can see the small o-ring, lubed with DC-4 and pressed in the recessed
boss.
Step #8
Then, I lubed both sides of the washer with DC-4 and placed in over the
O-ring. You can see that there is another recessed area just for this washer.
The "Thin" AN washer has a smaller O.D. and I though it best to place the
factory washer in first.
Step #9
Next, I lubed and placed my shim washer
(MCS1450-6B14-010) over the factory washer. I tested it on the plane without the shim washer and
although it locked down, I could move the cap with some effort. The shim took
all the play out and and snugged it right up.
Step #10
Not a very good pic of the bottom of the tab, but you just want to remove
enough material from the bottom and front of the tab which contacts the washer
when in use to take out some of the ware that enlarged the nose radius. There
needs to be a small rounded edge so the tab releases, but flat enough so it has
a snap action and folds down flush in the cap. I used a stand belt sander and
worked slowly as I did not want to remove too much material. Only remove
material from the bottom and front of the tab, holding it square. Don't file or
sand on the radius, which you are trying to shorten. Painted and ready to go.
Step #11
The tab, snapped down and locked flush. No more limp taps for me!
Step #12
Lube and install the large O-Ring and your done!
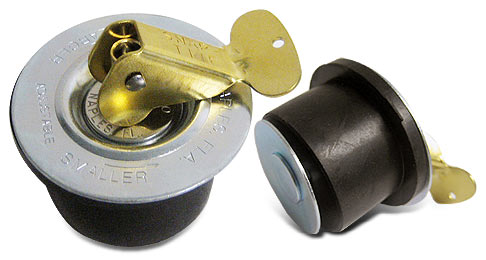
No O-rings for this "Old School" Fuel Cap for
very early Bonanza airframes. Rumor has it these puppies are quite pricey! Click
on the pics to go to Spruce for pricing.
Check out an innovative "Thermos" style fuel cap rebuild pirep from Deb owner, Adam Y. HERE
As always, if you have no idea what an O-ring
is or what a good one is supposed to look like or what a bad one looks like,
close this browser page and ask your A&P licensed mechanic to have a look at
your fuel caps and let you know if they need to be changed.
|